


Installing solar panels on our RV
#rvlife #travel #solar #batteries
2021-05-06
We ordered all of the components for our battery and solar panel installation back in the winter so that we could beat the springtime rush and so that we would be ready the second the weather got nice enough to install the solar panels onto the RV roof. The weather is good now and it's time to get out there and start our solar install.
We bought four 100 watt 12V solar panels by Renogy and the Renogy adjustable tilt mount brackets. We also recently installed their smart lithium batteries in our rig which has already extended how long we can go without the use of a generator. We’re hoping that the solar panels will essentially make our energy needs while camping a moot point.
4(ish) steps to mount solar panels with tilt brackets
Ok, so there is something that needs to be done before starting to mount the solar panels. The first thing we did was clean our RV roof so that we aren’t covering up dirt and grime that will get trapped under the sealants and brackets, and potentially cause a problem down the road. Once that was done, we were ready to start. So, I guess there are actually 4(ish) steps? Let’s get started!
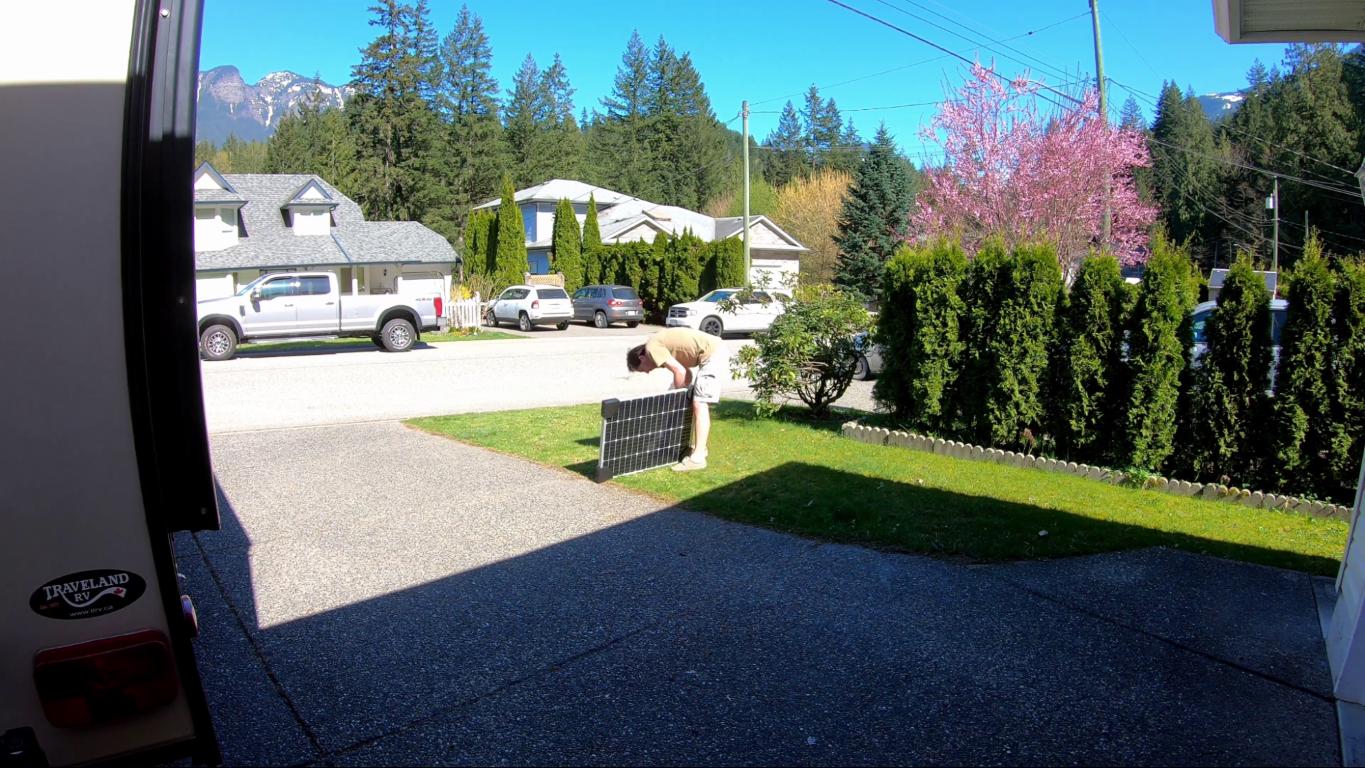
- Test each individual panel and make sure they are producing electricity. The last thing you want is to be up on your roof and install a panel and then realize that it's dead after you hook everything up. When we tested ours with a multimeter and they all clocked in at 20.6 volts.
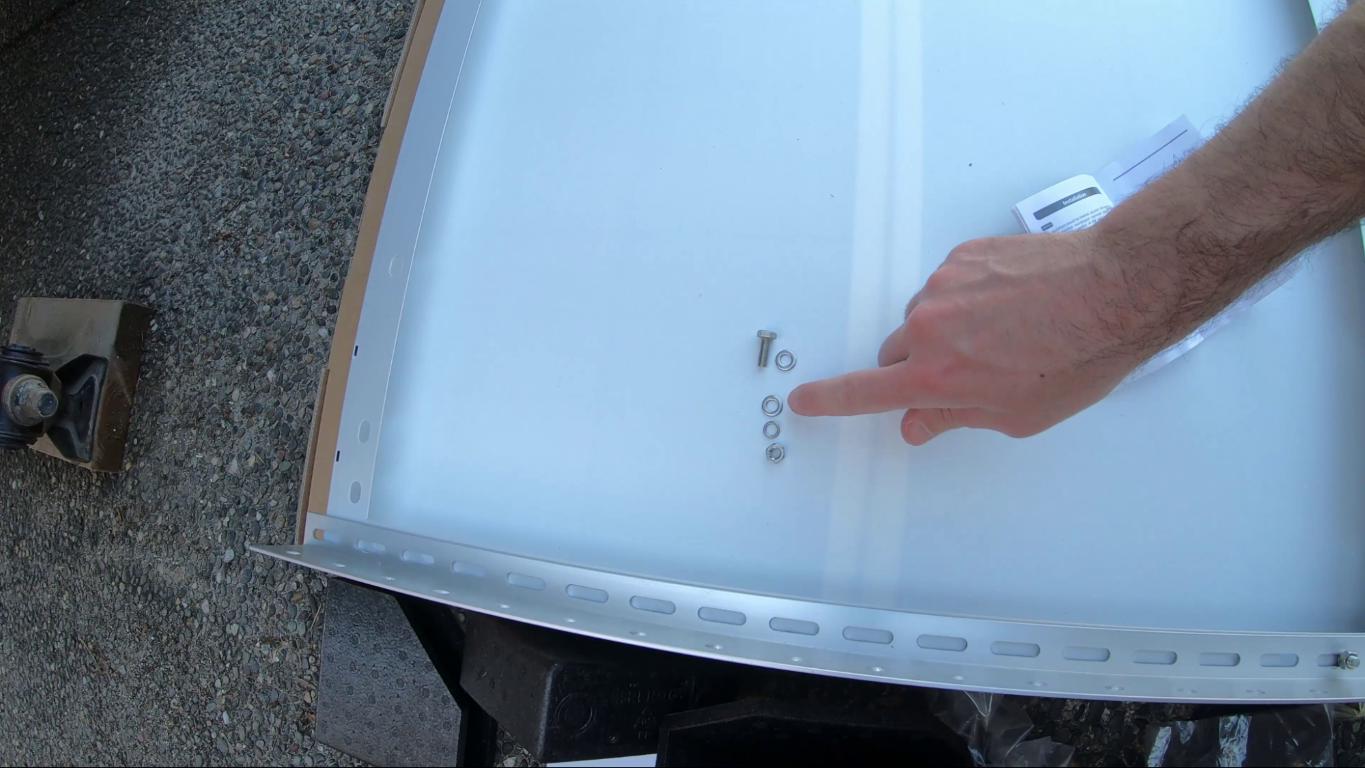
- Attach the tilt brackets. They come with instructions and these can tilt up to 90 degrees to maximize that very low winter sun. To attach the bracket to the panel you're going to want to feed all the bits onto the screw in this order: the nut, and then a washer, and then the bracket, another washer, lock washer, and then the bolt.
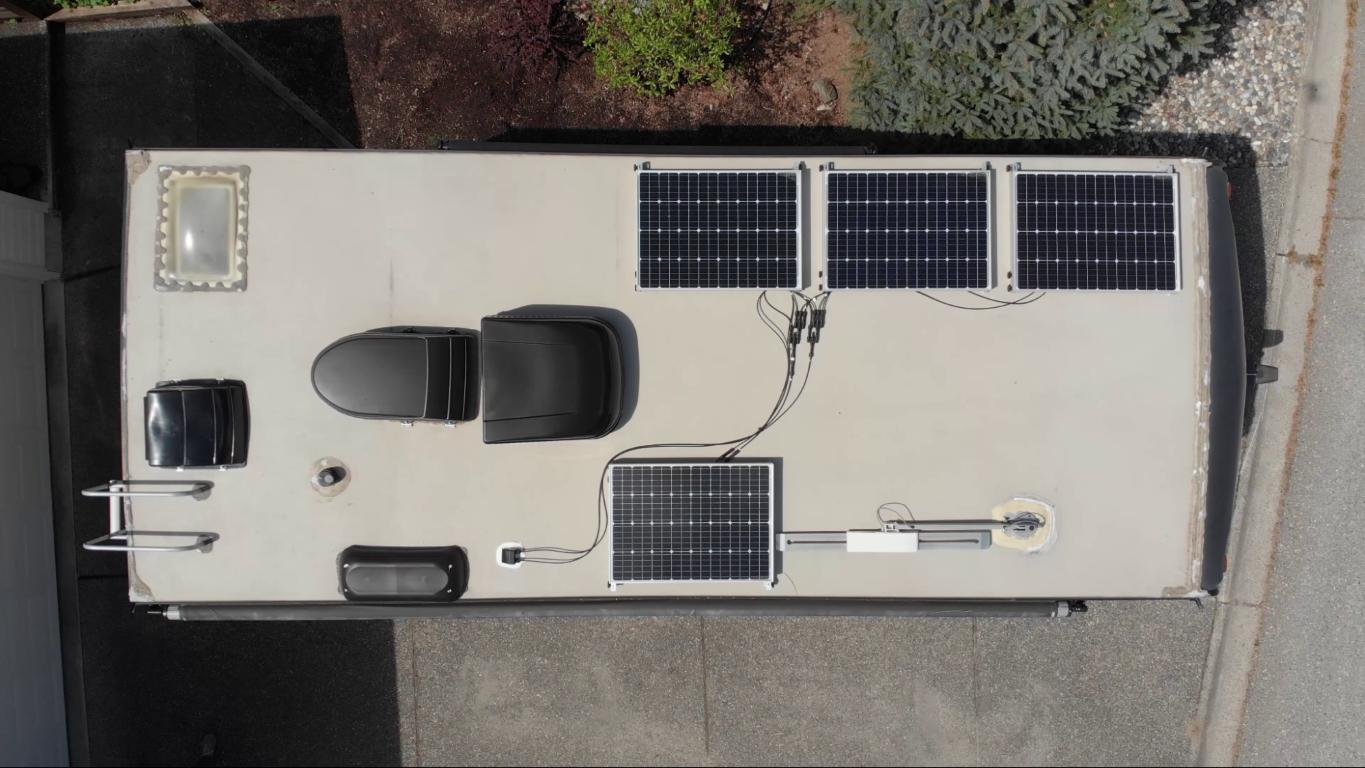
- Arrange them on the roof. This step is important to make sure the best spot is found for them to avoid major shadows from other things on the roof, and to rough in the wiring and make sure that all the wires reach to where they need to.
One thing that came to light for us was that there was a slight issue with the curvature of the roof and we couldn’t get the tilt mount panels mounted exactly flat in the spot we had planned to put them. With a little experimentation Jay was able to determine that the roof is a lot flatter towards the side edges of the roof so the panels were going to be best mounted right at the edge. So, we put three panels on the side of the RV where we would normally orient it to capture the most sun through the biggest windows, and one on the other side.
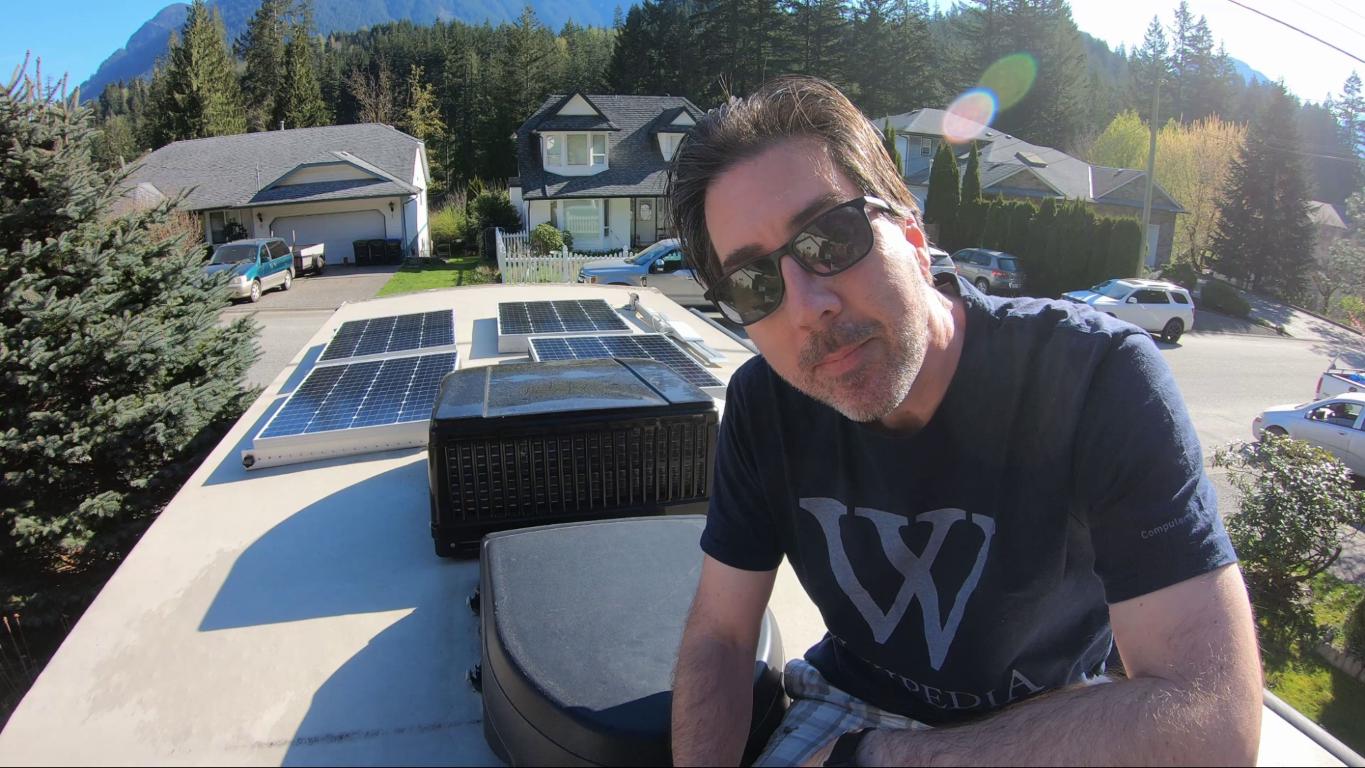
- Screw them in place. This is the scariest part of this project. Adding holes into an RV roof, whether intentional or not, is always a bit nerve racking. Jay followed what the manufacturers did with everything else screwed into the roof, which was to use a crapload (that’s the official term) of dicor. Around every screw, self-leveling dicor was used to cover the screw. It forms a seal, should make it waterproof (assuming it was applied correctly *fingers crossed!), and it will be all good. Jay really loved the self-leveling dicor. His words: “It's great! You can make a total mess of it and then it'll just flatten out.”
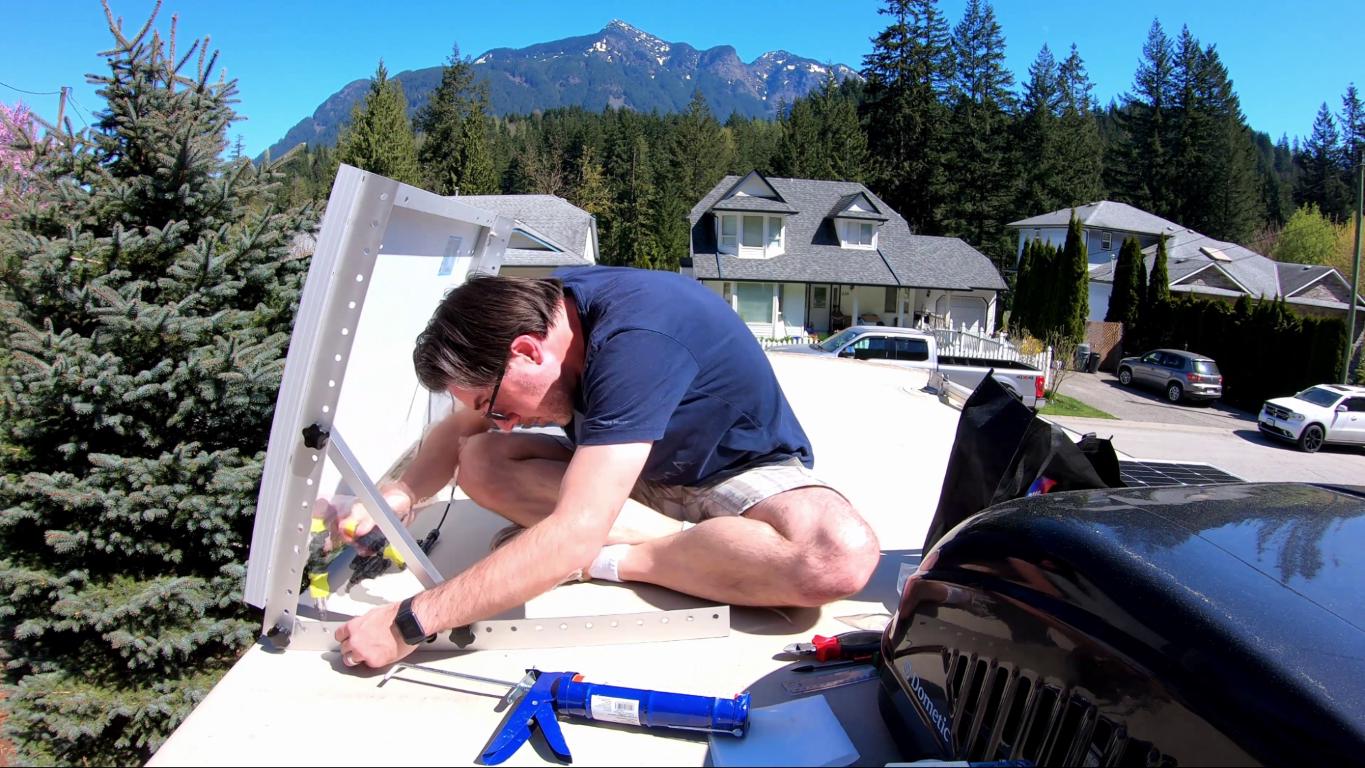
After attaching the first panel we figured out it was better to put the panel in position, measure everything out and then take the panel completely off the tilt mount brackets, and install the bars just on their own. It made it a lot easier to get in there with a screwdriver. Then, put everything back on and move on to the next one.
Attaching our Renogy solar panels to the RV roof was a pretty big job, but luckily we didn’t run into too many issues. If this is a project that you are working on or considering, we’d love to hear from you! Please also consider joining our email list to receive a weekly email with our videos of the week. The next step in this project is to get everything wired in and connected, which will be in our next how-to video (released on Thursday’s).
Until next time, keep on living the life you’ve imagined!
Mel, Jay & Benny