


DIY Custom RV Cushion Covers - What I learned while reupholstering our RV dinette
#rvlife #travel #renovation #cushions
2021-03-03
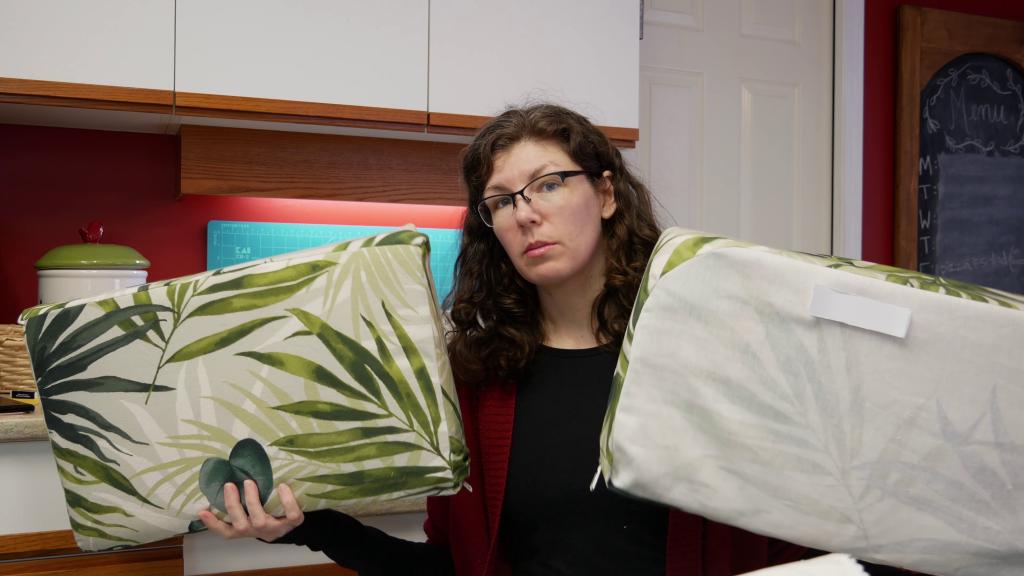
Reupholstering our RV dinette cushions was a DIY project I thought was going to be very simple and able to be completed in a weekend. To be perfectly clear, I do not have advanced sewing skills, in fact I would consider myself a beginner to novice sewer. This might be why it took me two weeks to complete the project. I even considered not making a video about it, questioning if I even had the right to share a how-to video about something I had not yet mastered. In the end, though, I did conquer the cushions and realized that if I could do it, YOU can do it, too. So, here goes:
DIY RV cushion supplies
For this project you will need:
|
|
|
|
|
|
|
|
|
|
|
|
Measure the length, width, and thickness of each cushion you want to make a new cover for. Then calculate the circumference by adding 2 x length and 2 x width.
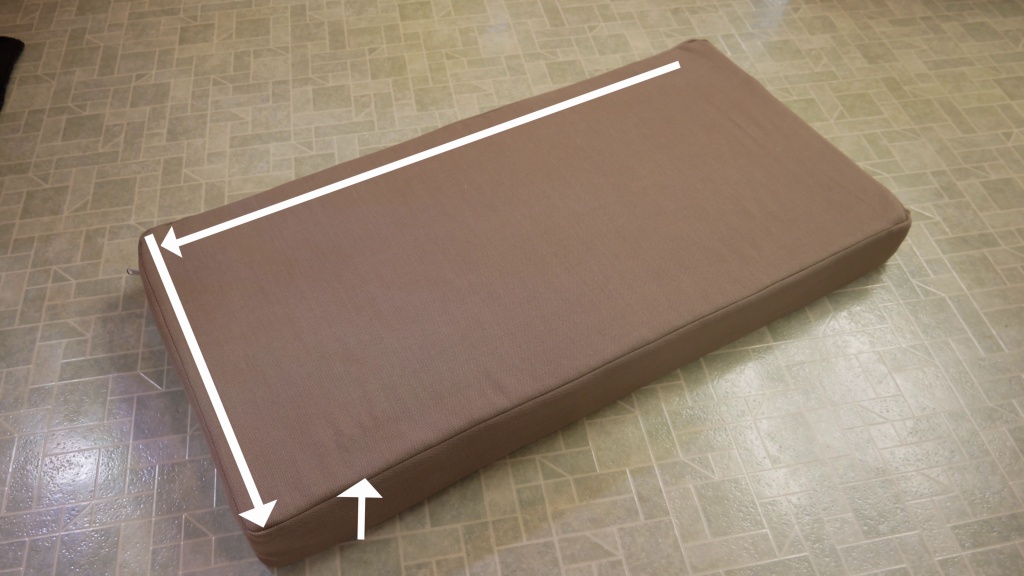
Knowing how much fabric to buy can be calculated by using an online fabric calculator. There are several of these available for free and I also linked to the one I used in the video description. Since it was specific to box cushions, I had to estimate how much fabric I needed for the curved cushions on my own. I ended up with some extra, but better too much than not enough, right?
How to make box cushions
A box cushion is a square or rectangular cushion with a flat top and bottom. There are cushions in the world without flat tops and bottoms, but that is a conversation for another time.
They are made using 4 pieces: front, back, boxing, and zipper casing, whose dimensions are calculated like this:
Front and back pieces → length+1” by width+1”
Zipper casing → length +4” by thickness +3”
Boxing piece → (circumference +2”) - length of zipper casing by thickness +1”
For example, for a cushion foam that is 10” long, 5” wide, and 2” thick the dimensions of the pieces cut out will be
Front & back pieces = 11” by 6”
Zipper casing = 14” by 5”
Boxing = 18” by 3”
Once the pieces are cut out,
Putting it all together can be done in 5 steps:
- Cut and prepare the zipper casing
- Stitch in the zipper
- Stitch together the zipper casing and boxing pieces to make a loop
- Stitch the boxing to the front piece
- Stitch the boxing to the back piece
I used a ½” seam allowance and don’t forget to always pin pieces with right sides facing - I learned that one the hard way…
Of course there’s a little more to it than this, like pinning the pieces together before stitching them, and ironing the seams out to get a nice professional look, but those are the basic steps.
The video gives a nice visual for all of these steps, and can be navigated through each section by using the chapter points linked in the video description.
How to reupholster curved cushions
There are two ways I could have approached this:
- Take apart the existing cover and use the pieces as a pattern
- Measure the cushion foam and recreate each piece based on the existing cover (without taking it apart)
After much debate, Jay and I decided to keep our existing cushion covers intact just in case. Which meant I went with option 2 this time. In hindsight, taking apart the existing RV cushion cover to use as a pattern would have been much less of a painful process with a higher chance of success on the first try. That’s right, I did it twice to get it right.
I made 2 big mistakes the first time ‘round:
- I forgot to add seam allowance to all of my measurements (d’oh!)
- I accidentally made the curved pieces smaller and smaller by nesting them side by side when drawing them out on the fabric. This might make more sense to see it in the video.
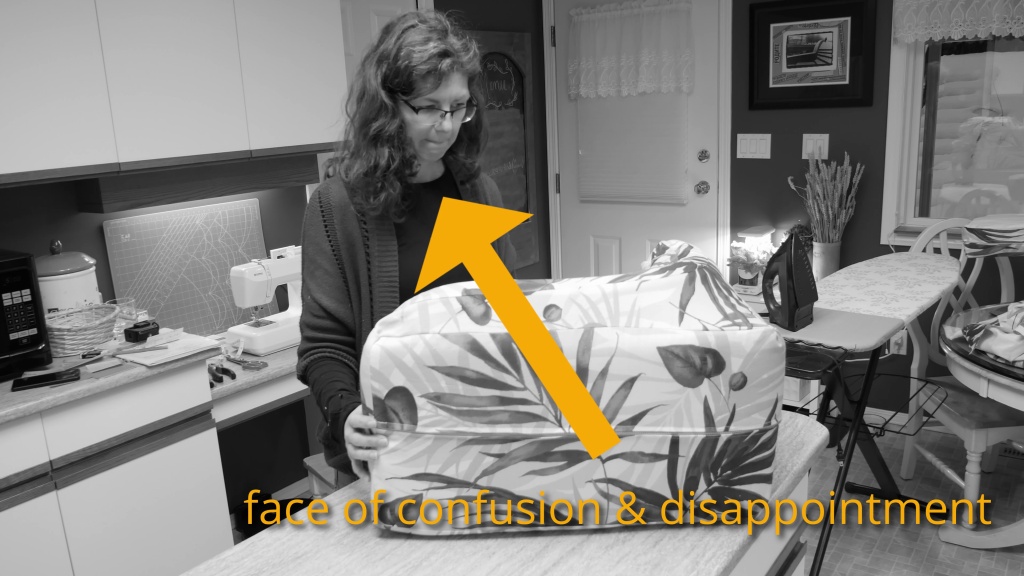
The result of these mistakes was a cushion cover that didn’t fit and was pulling the cushion foam in on itself (not to mention a few choice words and a sense of defeat). So, while I was angrily picking it apart to see how I could adjust it, the lightbulb went off and that’s when I realized where I went wrong. A second trip to the fabric store (that’s ok, it’s only 40 minutes away...) for some more fabric and I was back in business.
I amended the mistakes and with a huge sigh of relief, the second time produced a great looking, and perfectly fitted, cushion cover. Phew! Now to reproduce it for the other corner.
“The moral of the story is to be meticulously organized, measure very carefully, and double check your math”
We are very happy with the end result and are happy to be on the path towards updating the interior of our rig. Have you ever tackled this project? Or maybe you’re on that road now? Leave a comment under the video! We’d love to see your photos and hear your stories about conquering your ugly RV cushions.
I hope this was helpful and you have much luck with your project. Please feel free to ask any questions you might have in the video comments section.
Keep living the life you’ve imagined,
Mel