


Simple RV Upgrades & DIY Repairs We Did
#rvlife #travel
2022-10-16
We just got back home from our first winter South with our trailer. After spending some time on the road, we realized that our little condo on wheels was in need of some TLC. So, we spent the summer making a few simple RV upgrades and DIY repairs. In this article, we'll be sharing four easy upgrades that we made to our RV, as well as some repairs that we needed to do.
Before we dive in, we want to say a big thank you to all those who offered advice and suggestions through our Instagram stories. Your tips and tricks made these upgrades and repairs so much easier!
Now, without further ado, let's dive into the four easy upgrades we made to our RV this summer.
1. Replacing the Door Window
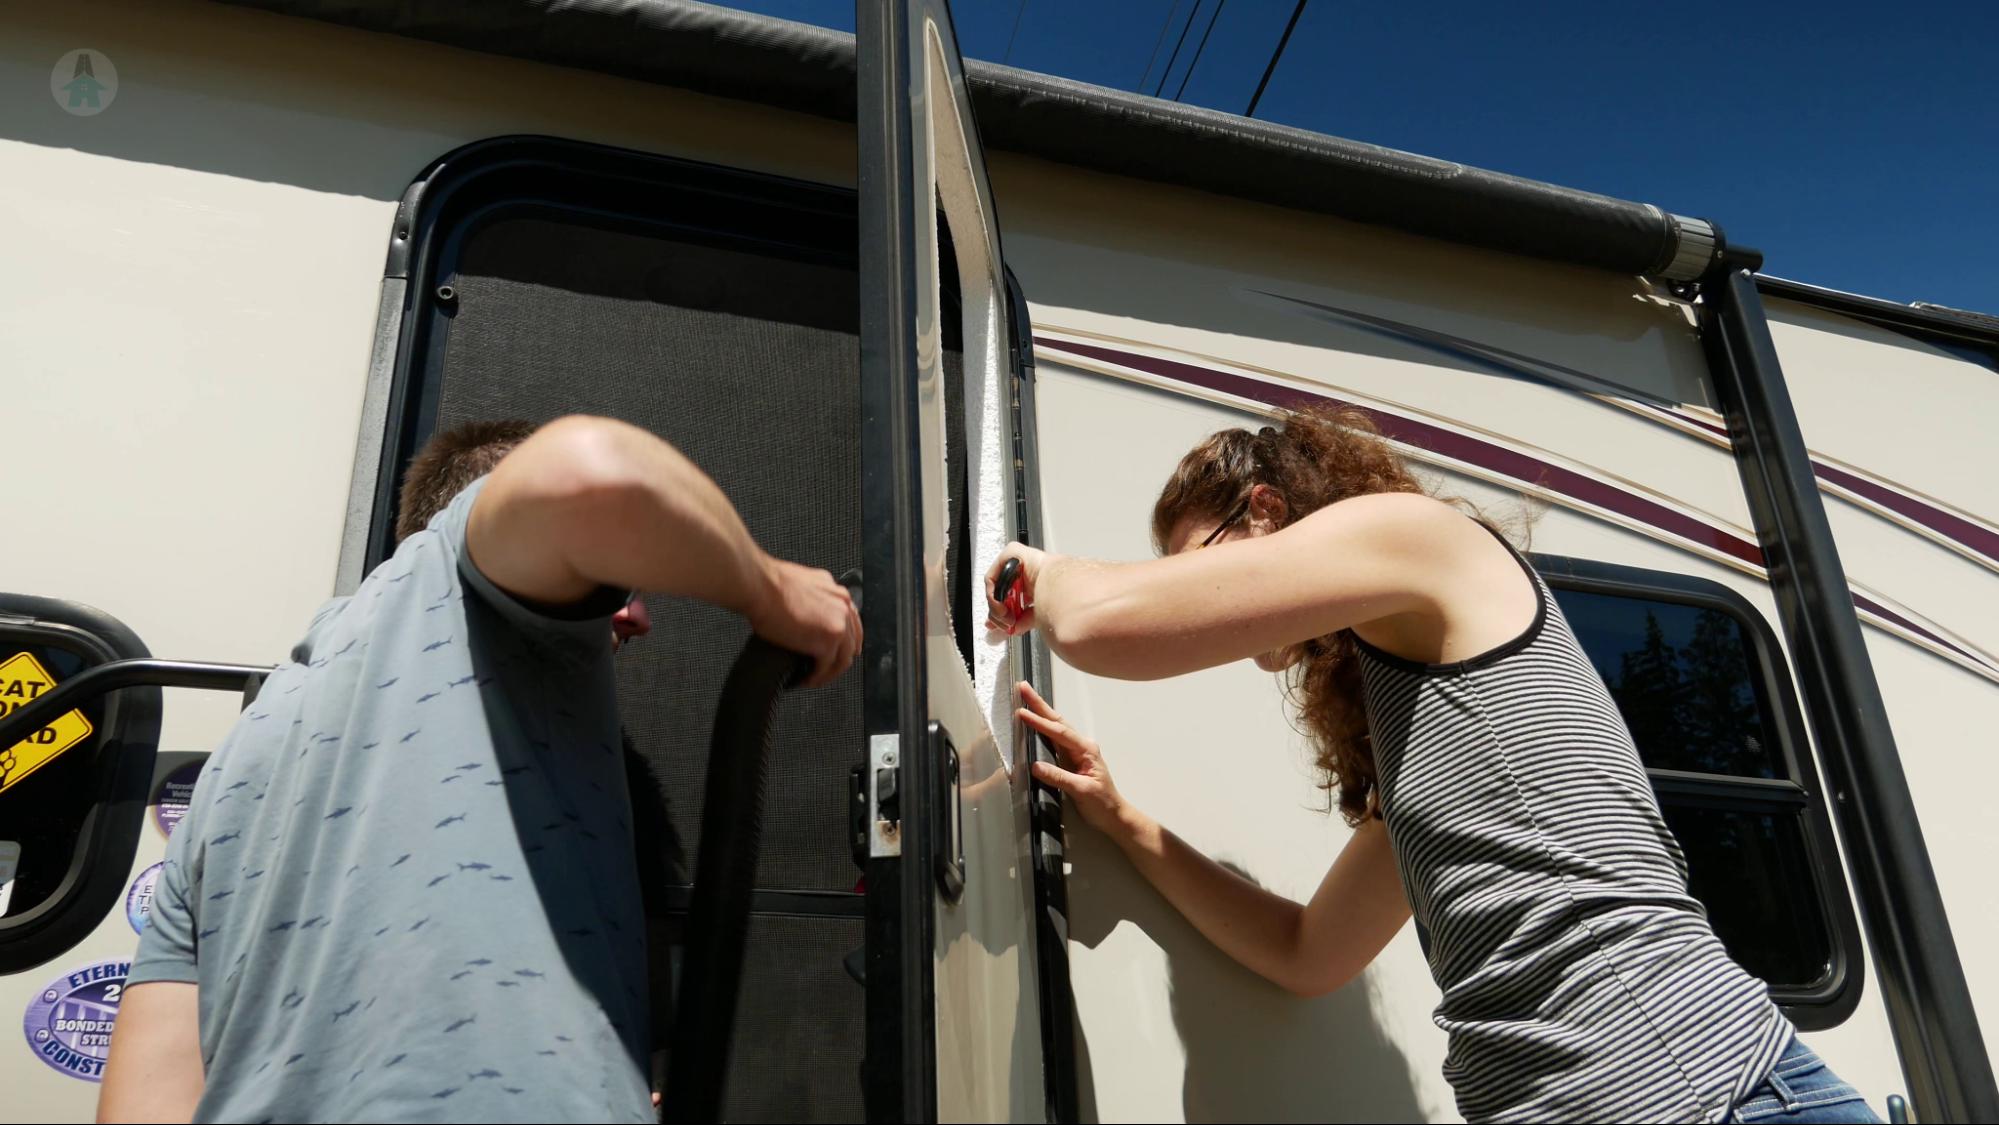
Our old door window was made of frosted glass that didn't let much light in, making the interior of the RV feel a bit dark and gloomy during the day. But it also let too much light in first thing in the morning, shining right into our bedroom. So, we decided to replace it with a tinted window with a shade.
The installation was a bit tricky (we're rating it a 3 out of 5 on the difficulty scale) because we had to remove the old caulking around the window without damaging the door. Thankfully, we got some advice and found out that denatured alcohol easily removes caulking without damaging the fiberglass finish of the door. After that, installing the new window was a breeze!
Three months later, we're still very happy with the upgrade. The new window lets in more light and provides better privacy, although we do need to open and close the shade from outside the RV due to our screen door blocking access.
2. Built-In Cat Scratchers
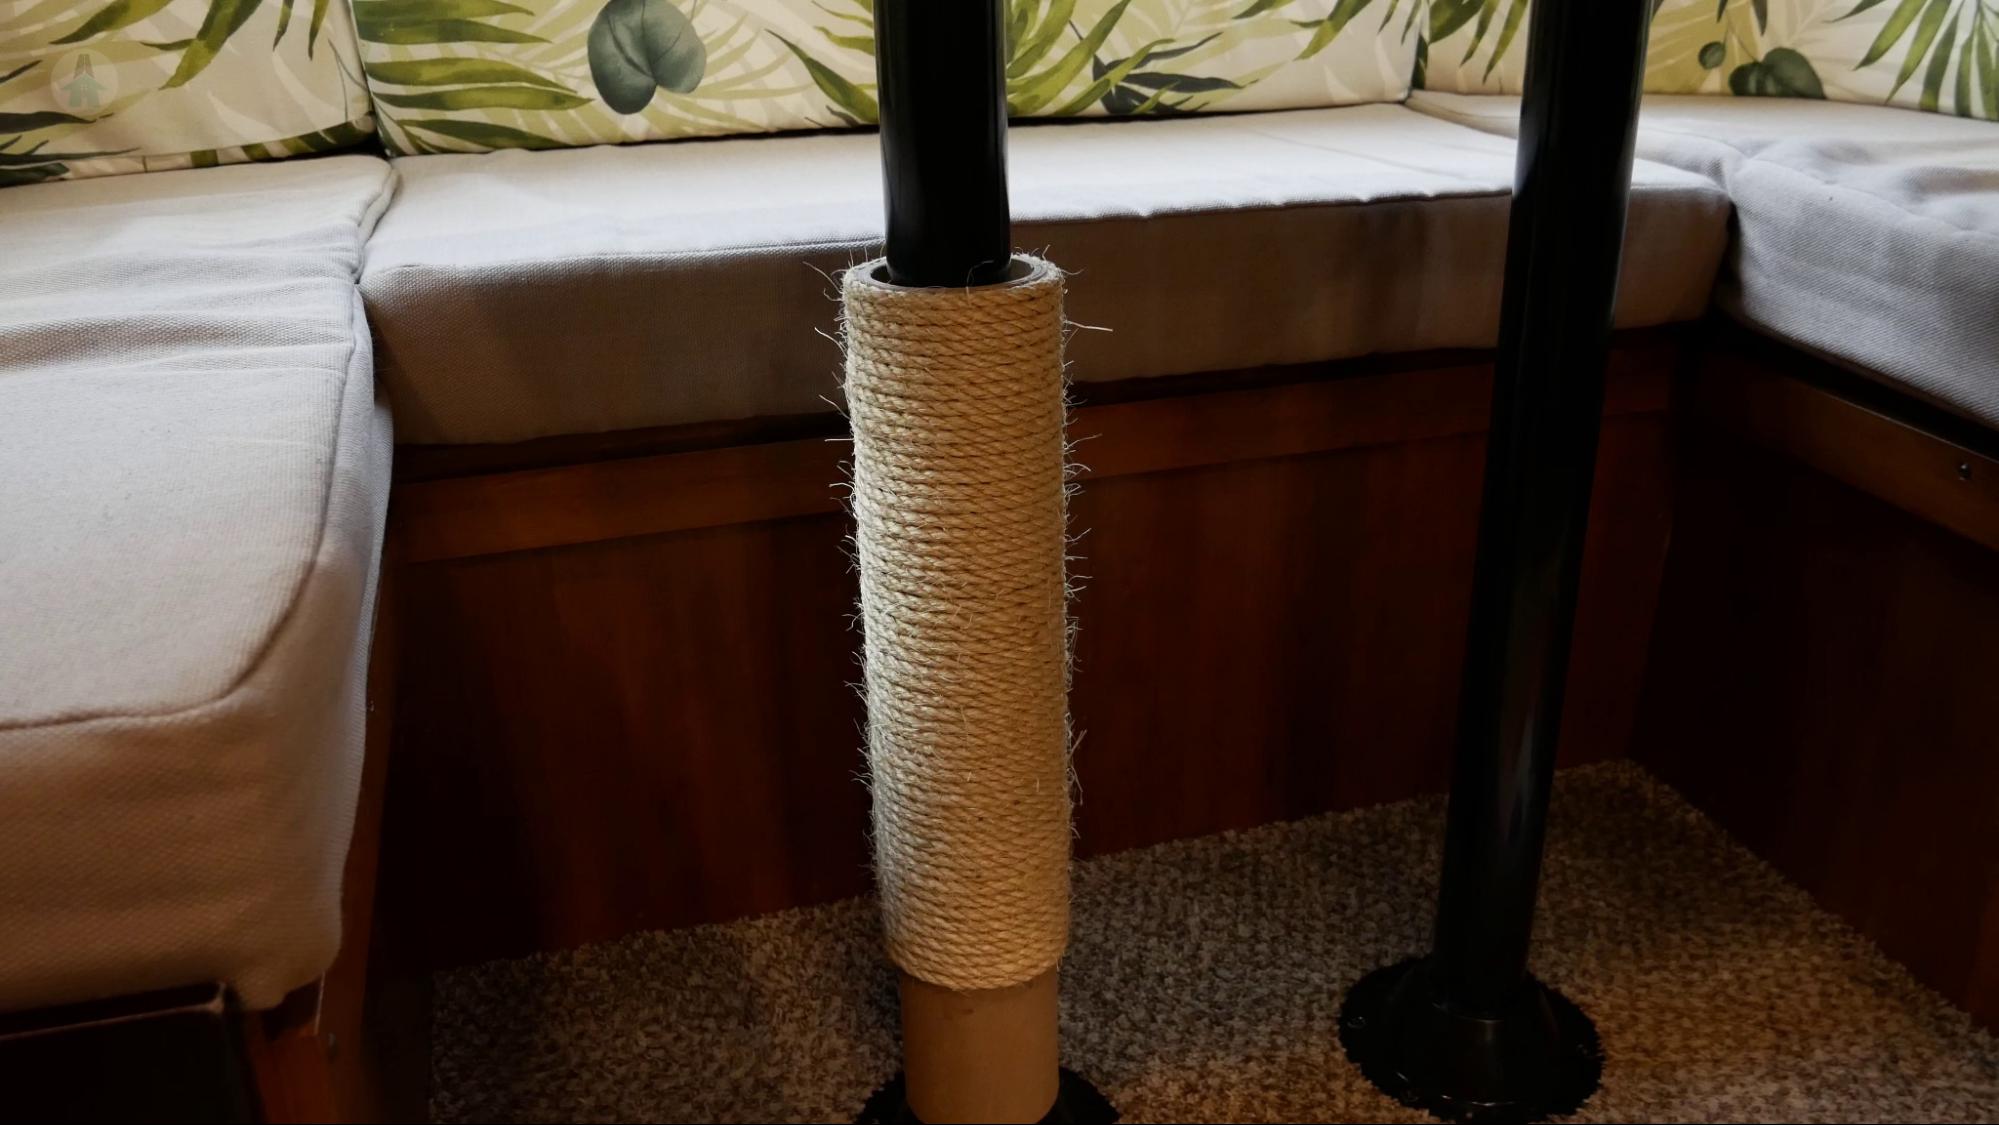
Our cat loves to travel with us, but his scratching habits were becoming a problem in the trailer. We used to bring a separate scratching toy for him, but it took up a lot of space inside the RV. To solve this issue, we installed built-in cat scratchers.
This was a fairly easy project (we rate it a 2 out of 5) that cost around $15 to make. We installed one scratcher on the wall and another on a table leg. So far, Benny has only used the table leg one, but we're hoping he'll get used to the other one as well.
3. Motion Lights in Dark Cupboards
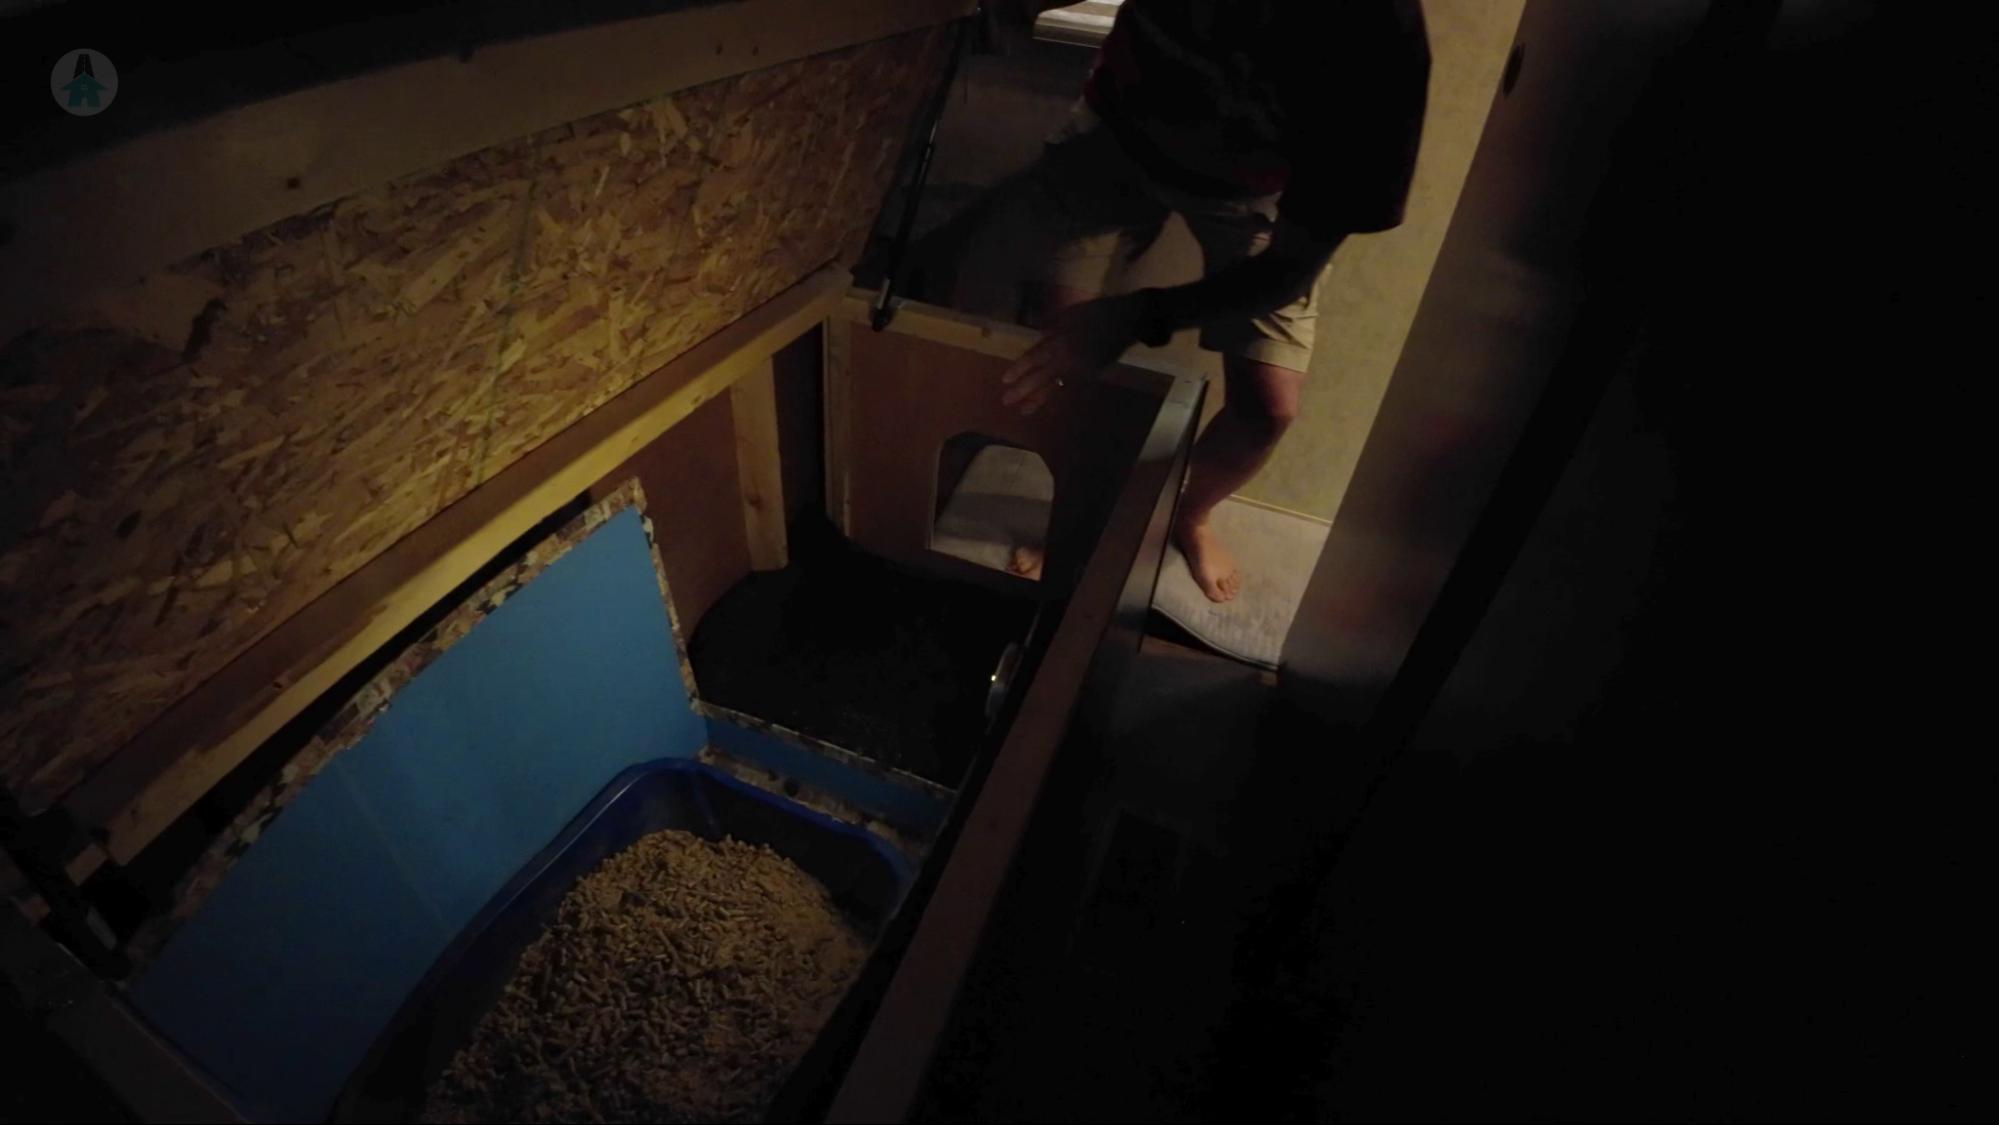
One issue we had in our RV was the lack of light in some cupboards, especially Benny's under-the-bed litter box. This made it difficult to find things and clean up after him. So, we decided to install motion lights in these areas.
This upgrade was super easy (a 1 out of 5 difficulty) and simply required ordering motion lights from Amazon and peeling off the backing to stick them inside the cupboards. The difference in brightness is impressive, and we're very happy with the result.
4. Replacing the RV Carpet
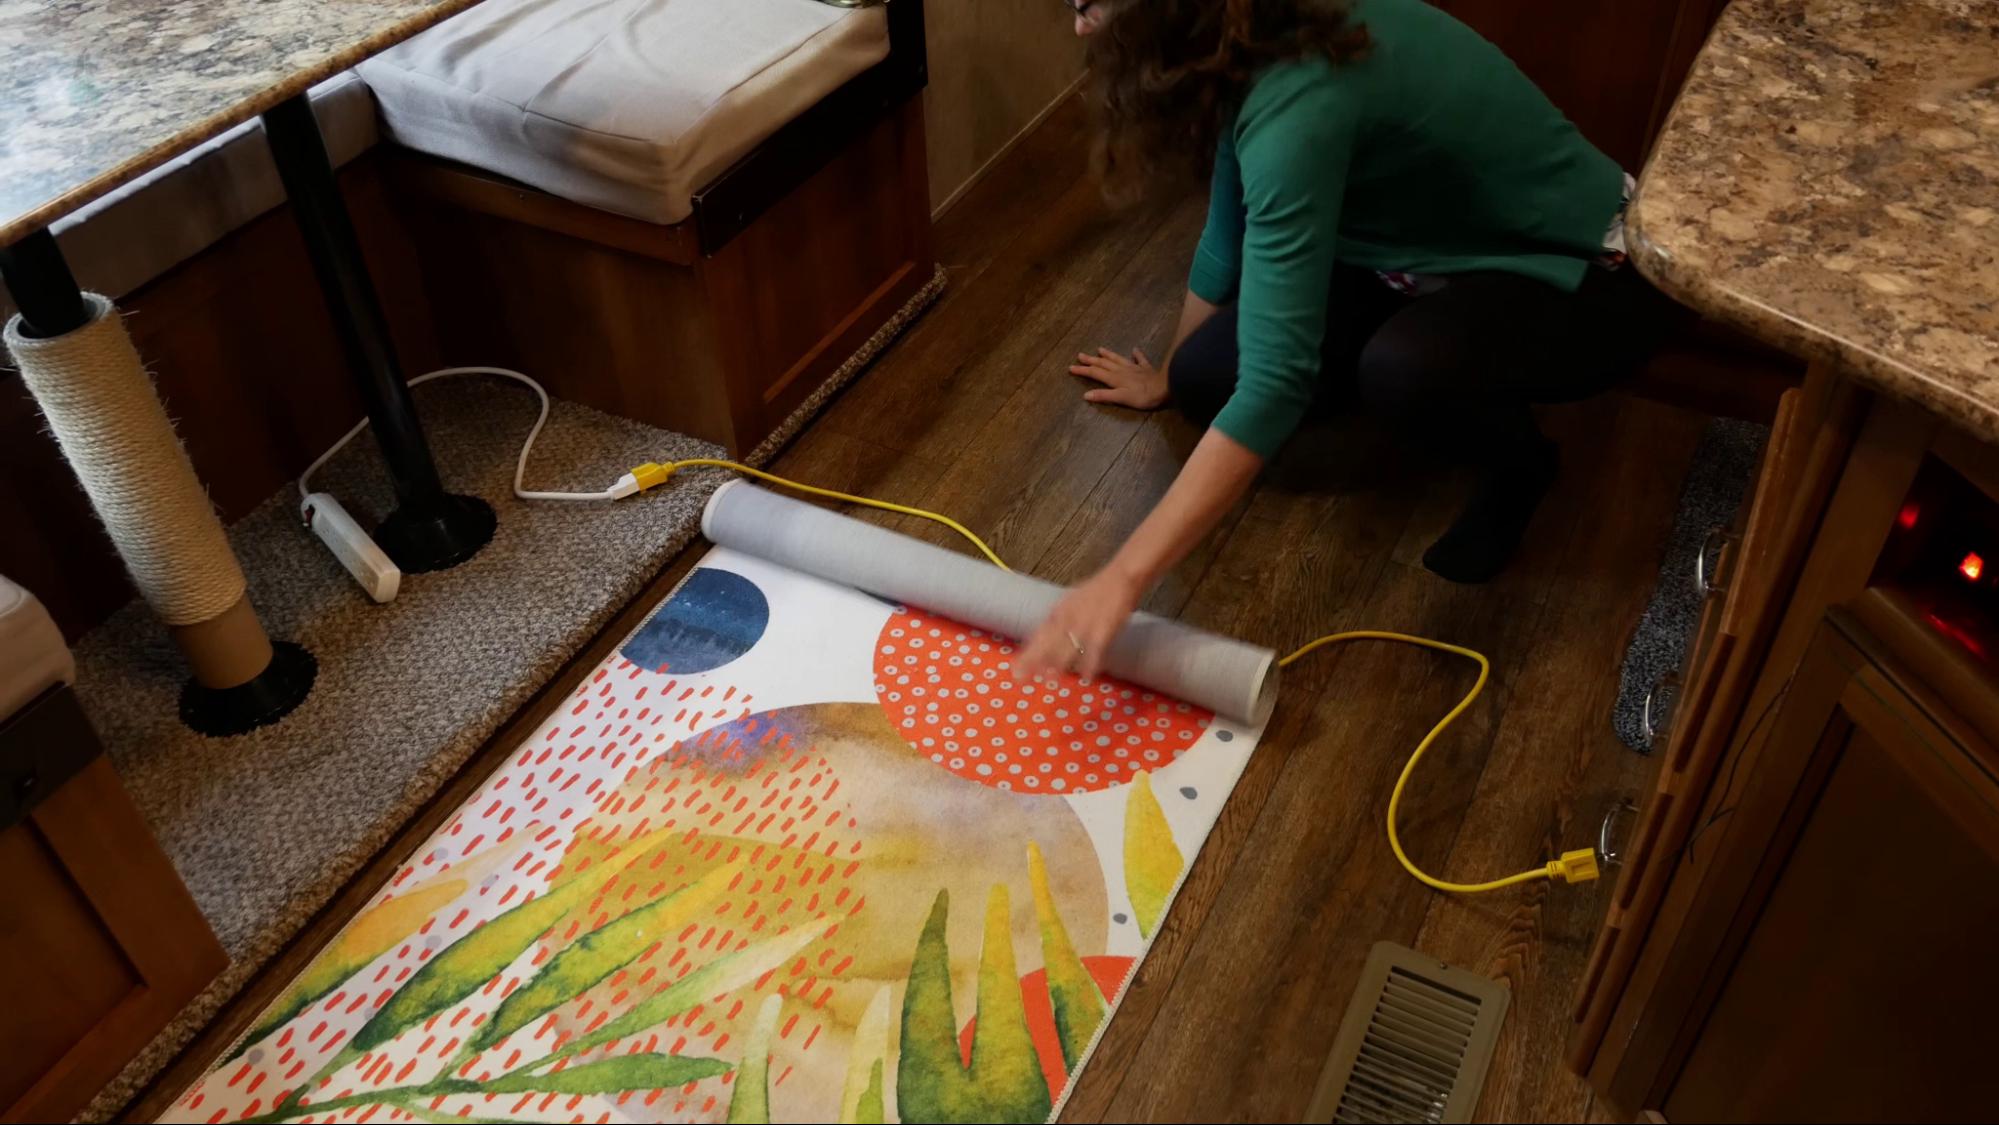
Our old carpet was showing signs of wear and didn't coordinate well with our cushion covers. So, we decided to replace it with a new, colorful rug. This was a simple project (a 1 out of 5 difficulty) that involved ordering a new rug from Amazon and laying it on the floor.
We love how the new rug looks and, even better, it's machine-washable and can be easily rolled up or folded for storage.
In addition to these upgrades, we also had to make some necessary repairs to our RV:
1. Replacing Caulking Around the Kitchen Sink
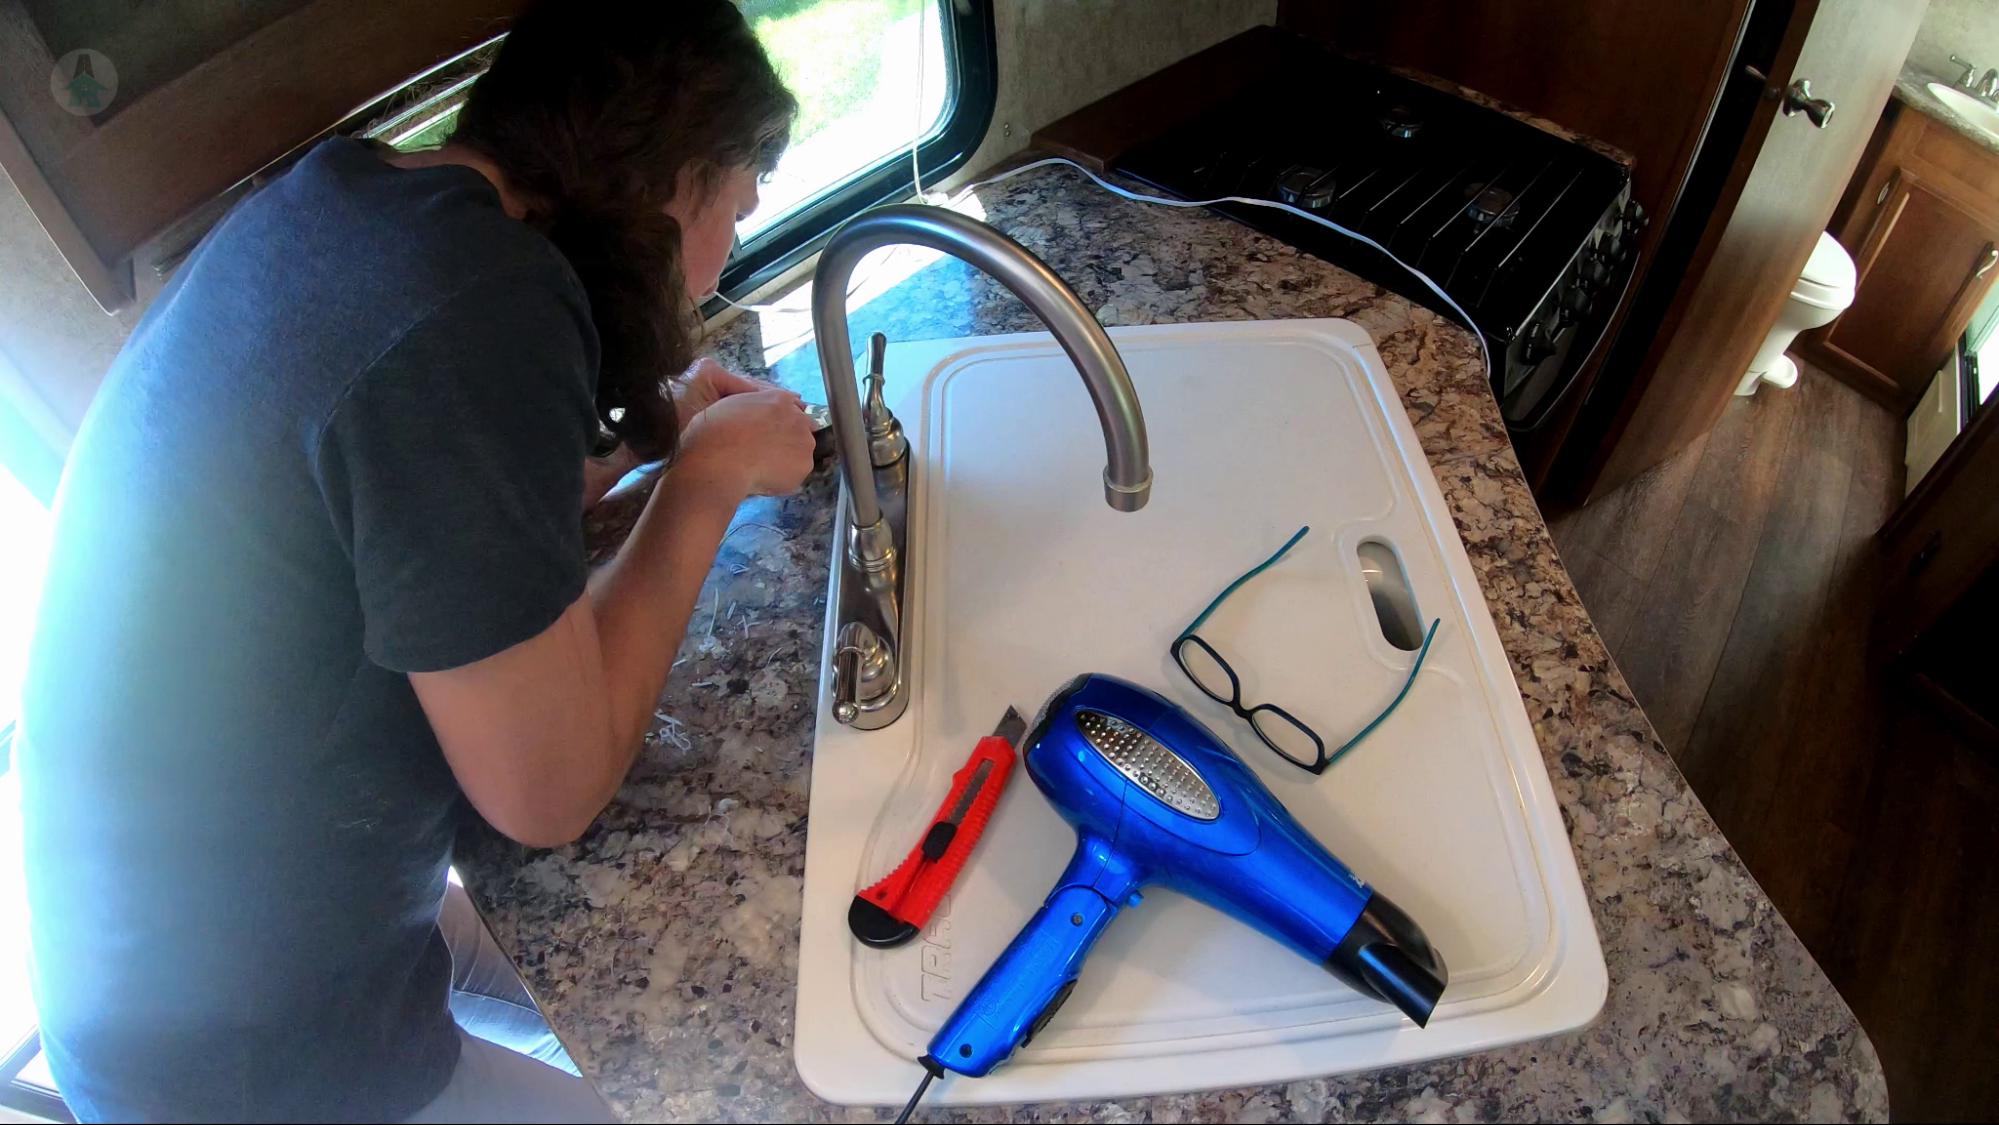
Over time, the caulking around our kitchen sink started to peel up. We simply removed the old caulking and replaced it with a marine-grade silicone caulk.
2. Re-gluing Loose Trim
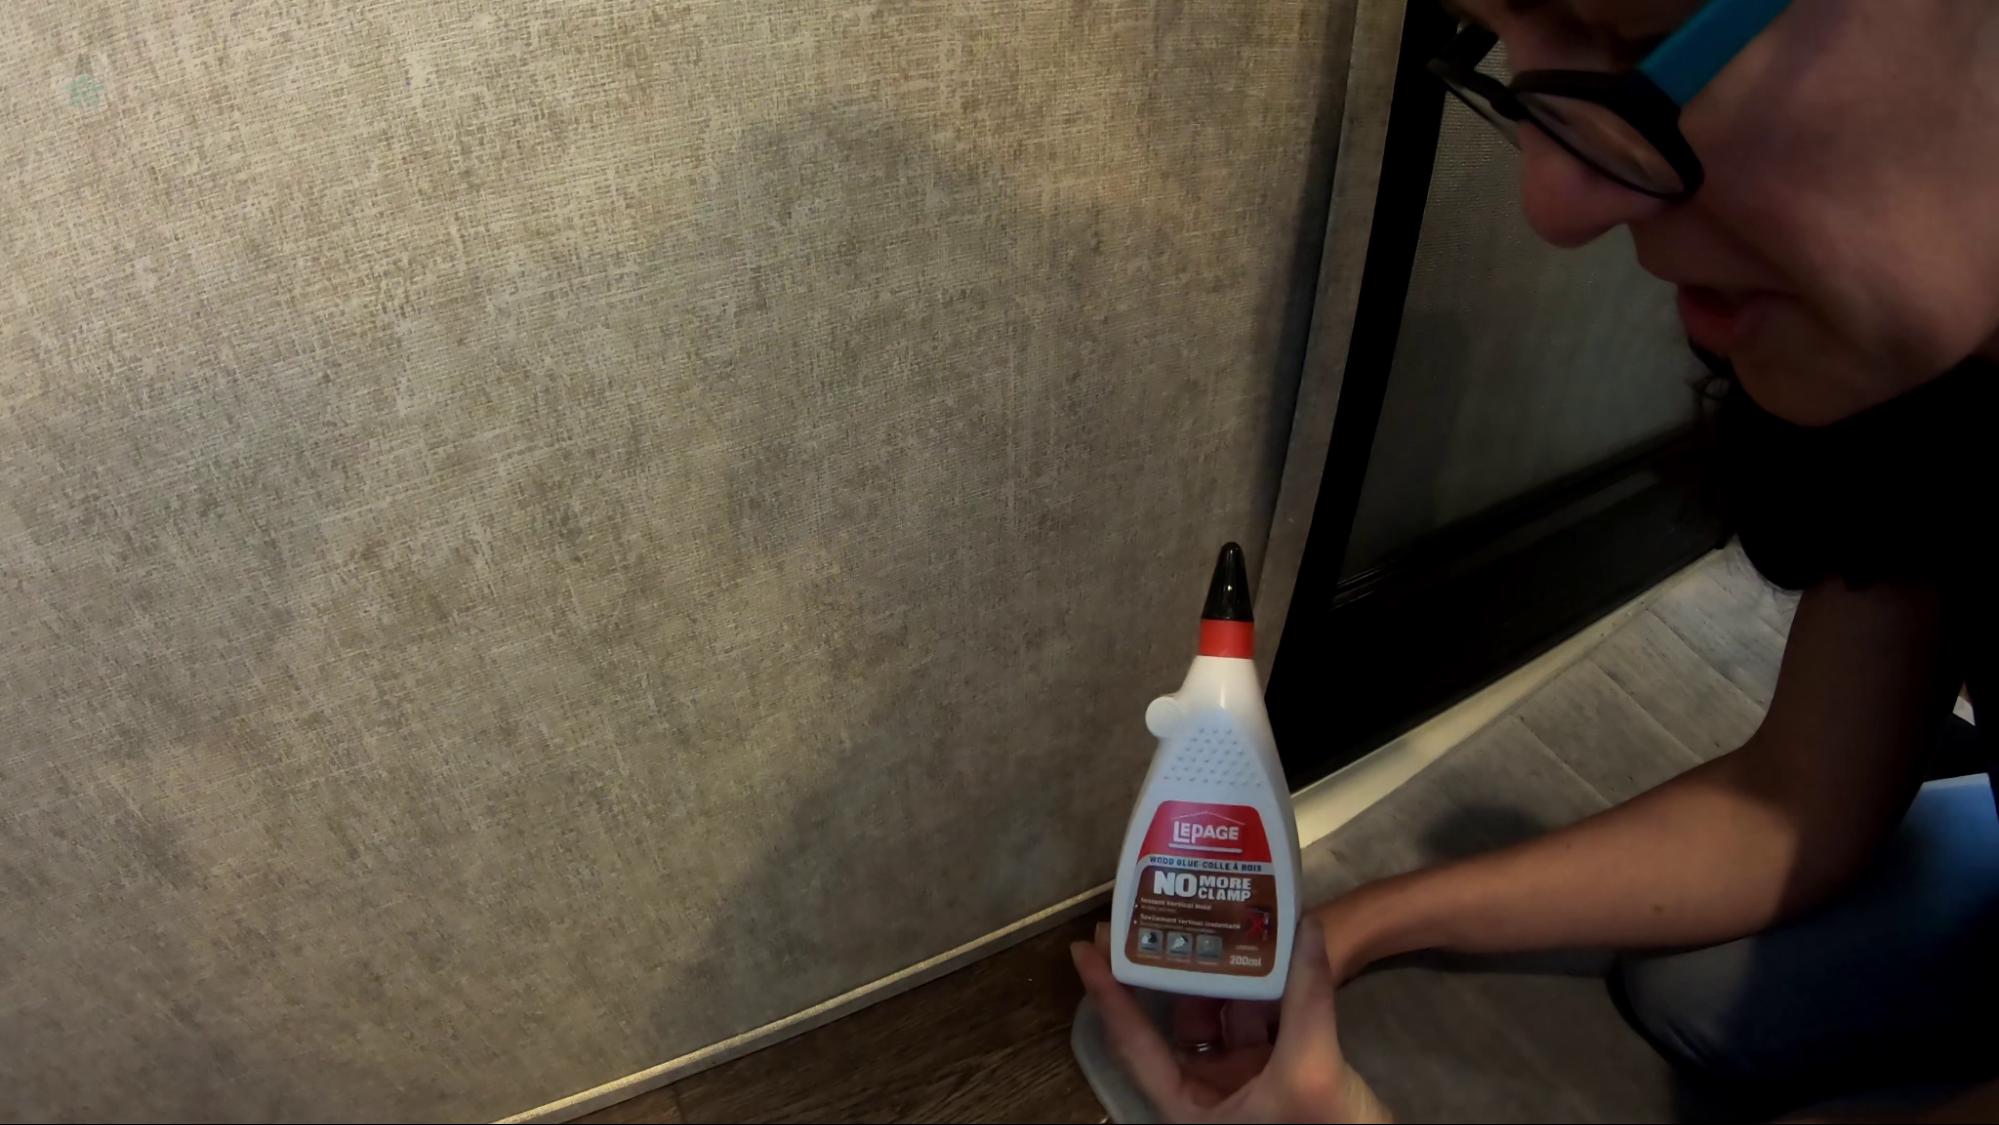
Some of the trim inside the RV had come loose due to the constant travel. We re-glued it using a specially-designed wood glue that offers an instant vertical hold.
3. Replacing Tires and Checking the Axle
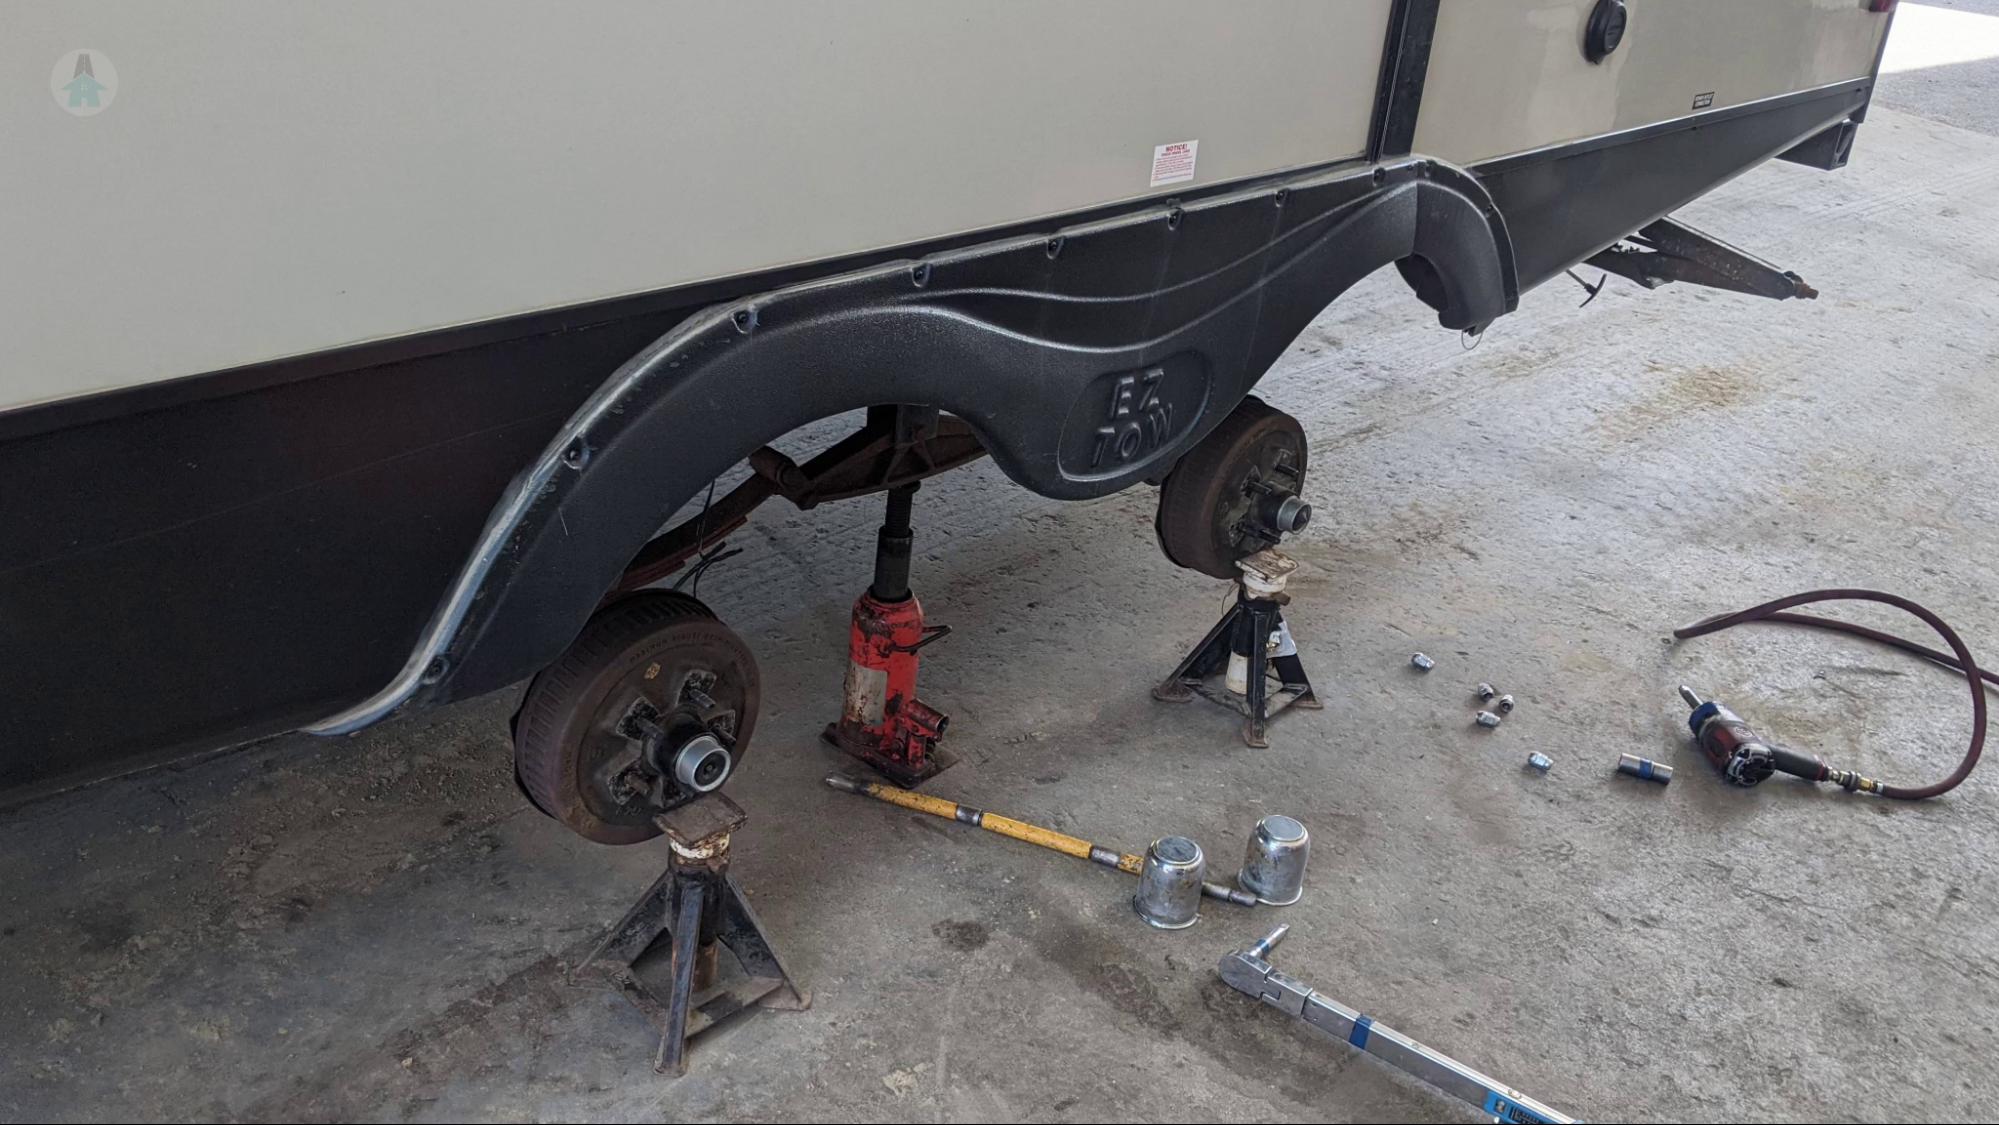
Our tires showed signs of uneven wear, so Jay took the RV to a local mechanic who confirmed that the axle was fine but the tires needed to be replaced. We had two new tires installed and are now good to go.
4. Replacing Waste Valves
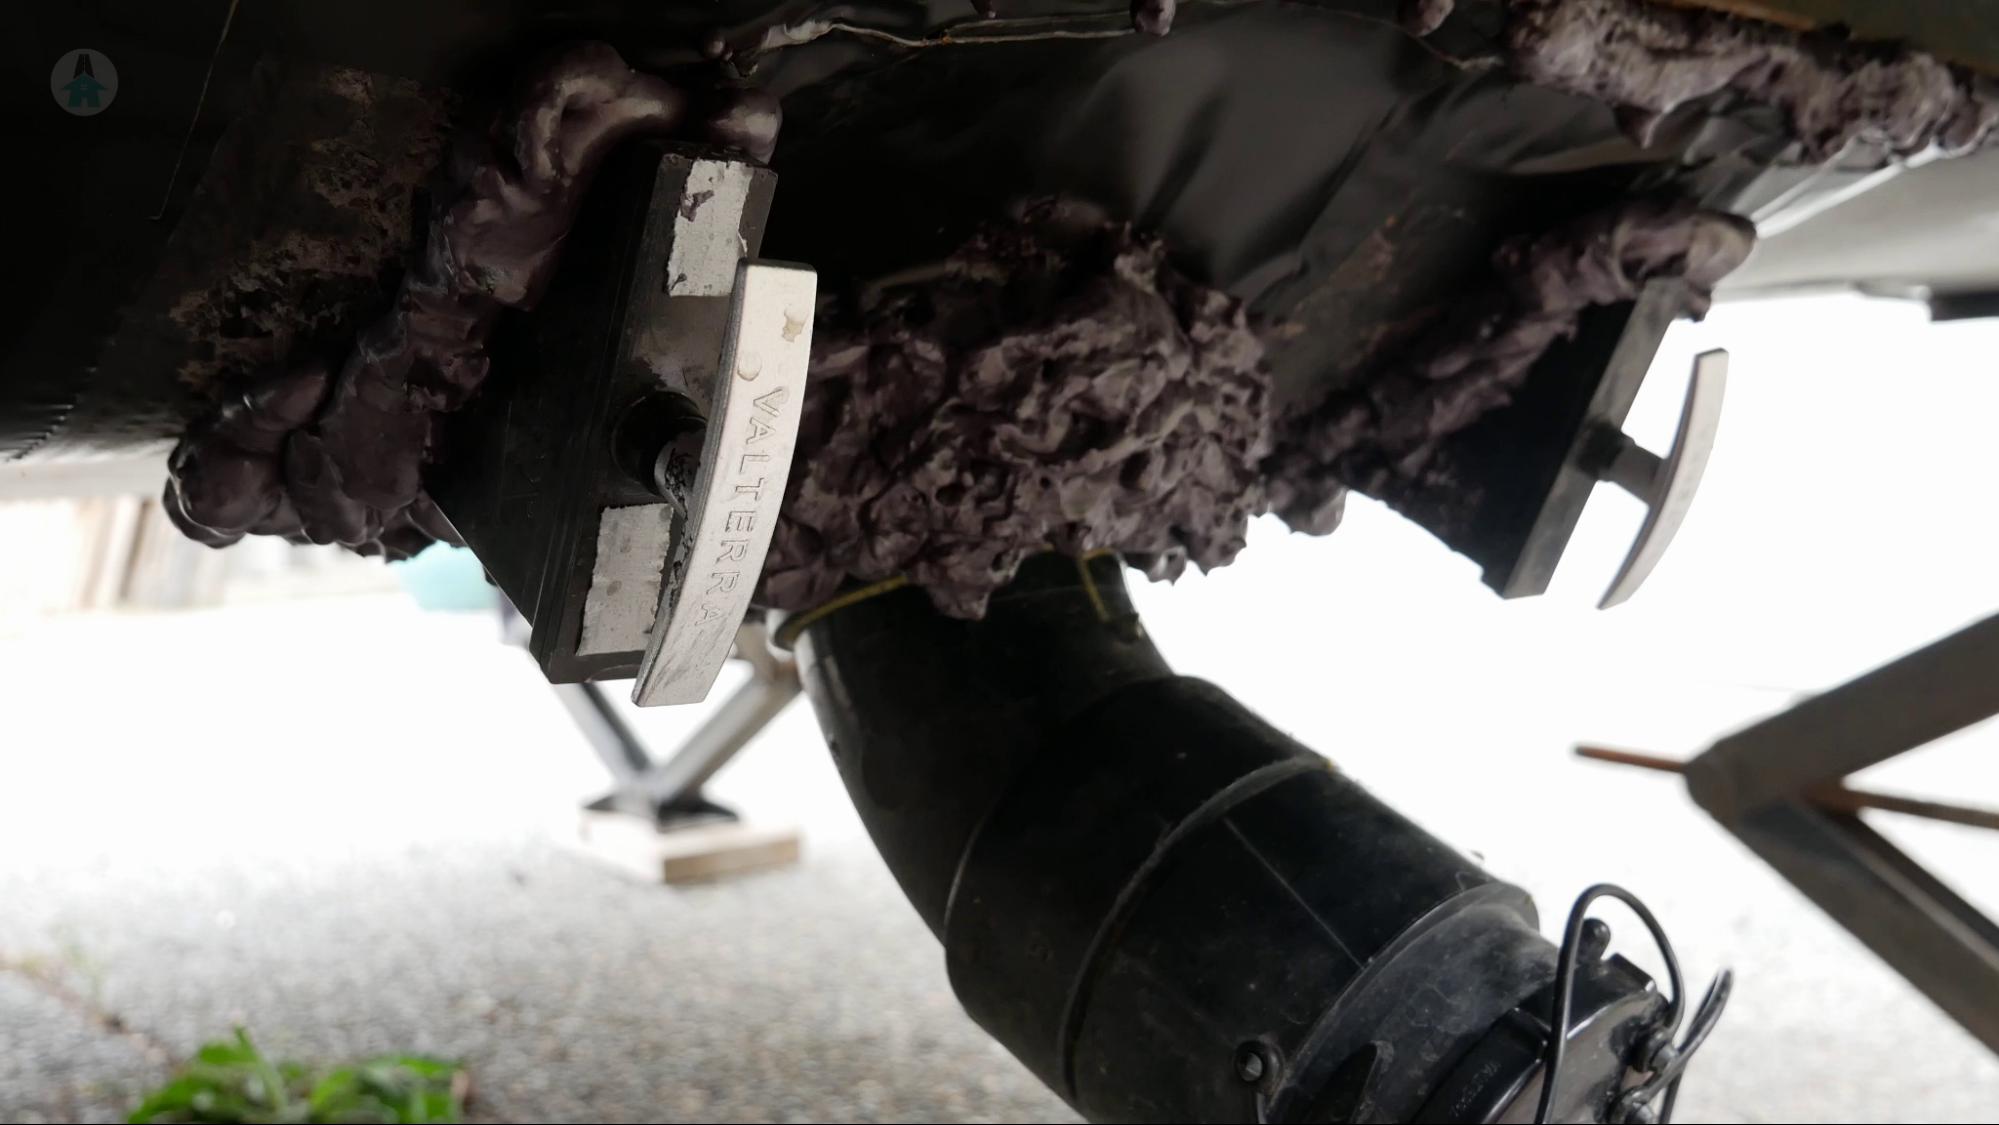
Our waste valves were leaking and difficult to operate, so we replaced them with new ones. This was a fairly difficult task, but after watching a few videos, Jay managed to complete the repair successfully.
5. Replacing the Door Hinge
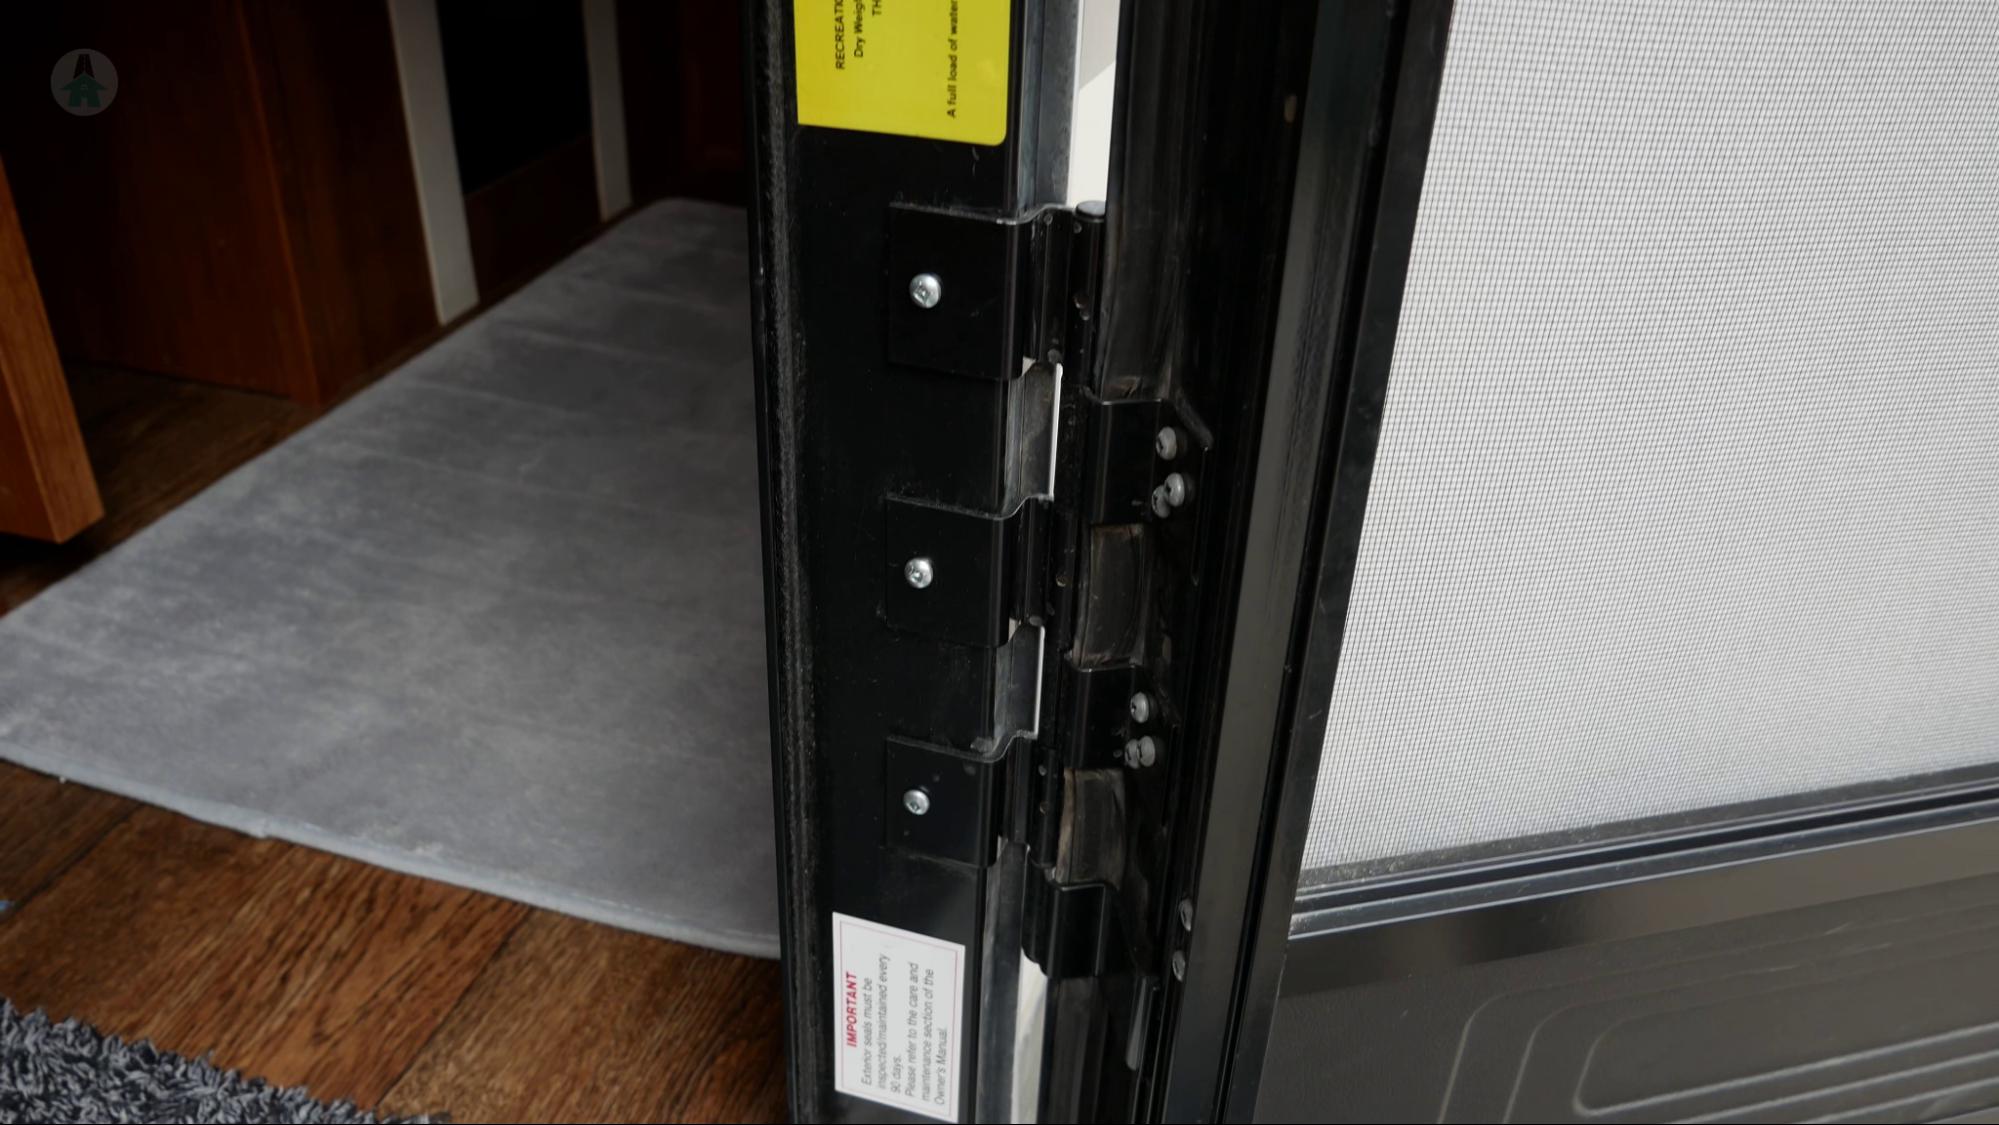
Our door hinge broke and needed to be replaced. This was a slightly more challenging task than expected, but after some research and patience, Jay managed to remove the old hinge and install a new one.
In conclusion, our RV is now ready for our next big adventure – a snowboarding trip to Baja, Mexico! We hope that our experience with these simple RV upgrades and DIY repairs can inspire you to give your own RV some love and care.
Thanks for joining us on this journey, and we can't wait to share our next adventure with you!
Traveling with an RV: Simple RV Upgrades & DIY Repairs for the Ultimate Road Trip Experience
Hit the Road With Confidence by Upgrading and Repairing Your RV Yourself
Traveling with an RV is one of the most convenient ways to explore the great outdoors, while maintaining the comforts of home. However, driving an RV is different from a regular car and does require proper maintenance to enhance your travel experience. Fortunately, there are numerous upgrades you can make and repairs you can learn to do yourself to keep your RV in prime condition. In this article, we will go into detail about the benefits of traveling with an RV and provide a comprehensive list of simple upgrades and repairs that any RV owner can achieve.
Benefits of Traveling with an RV
1. Cost-effective travel: While the initial investment of an RV can be quite high, it can save you money in the long run by cutting down on lodging, dining out, and airfare costs.
2. Freedom and flexibility: When you're on the road with an RV, you have the freedom to create your itinerary and explore at your own pace.
3. Convenience: Having a mobile home allows you to bring along most of your personal belongings and avoid the process of packing and unpacking at each destination.
4. Comfort: Traveling with an RV enables you to control your environment, providing you with the comforts and necessities of your own home.
5. Opportunity for socializing: RV parks and campgrounds are often filled with like-minded people, which can lead to lasting friendships and memorable experiences.
Simple RV Upgrades
1. Solar Power Upgrade
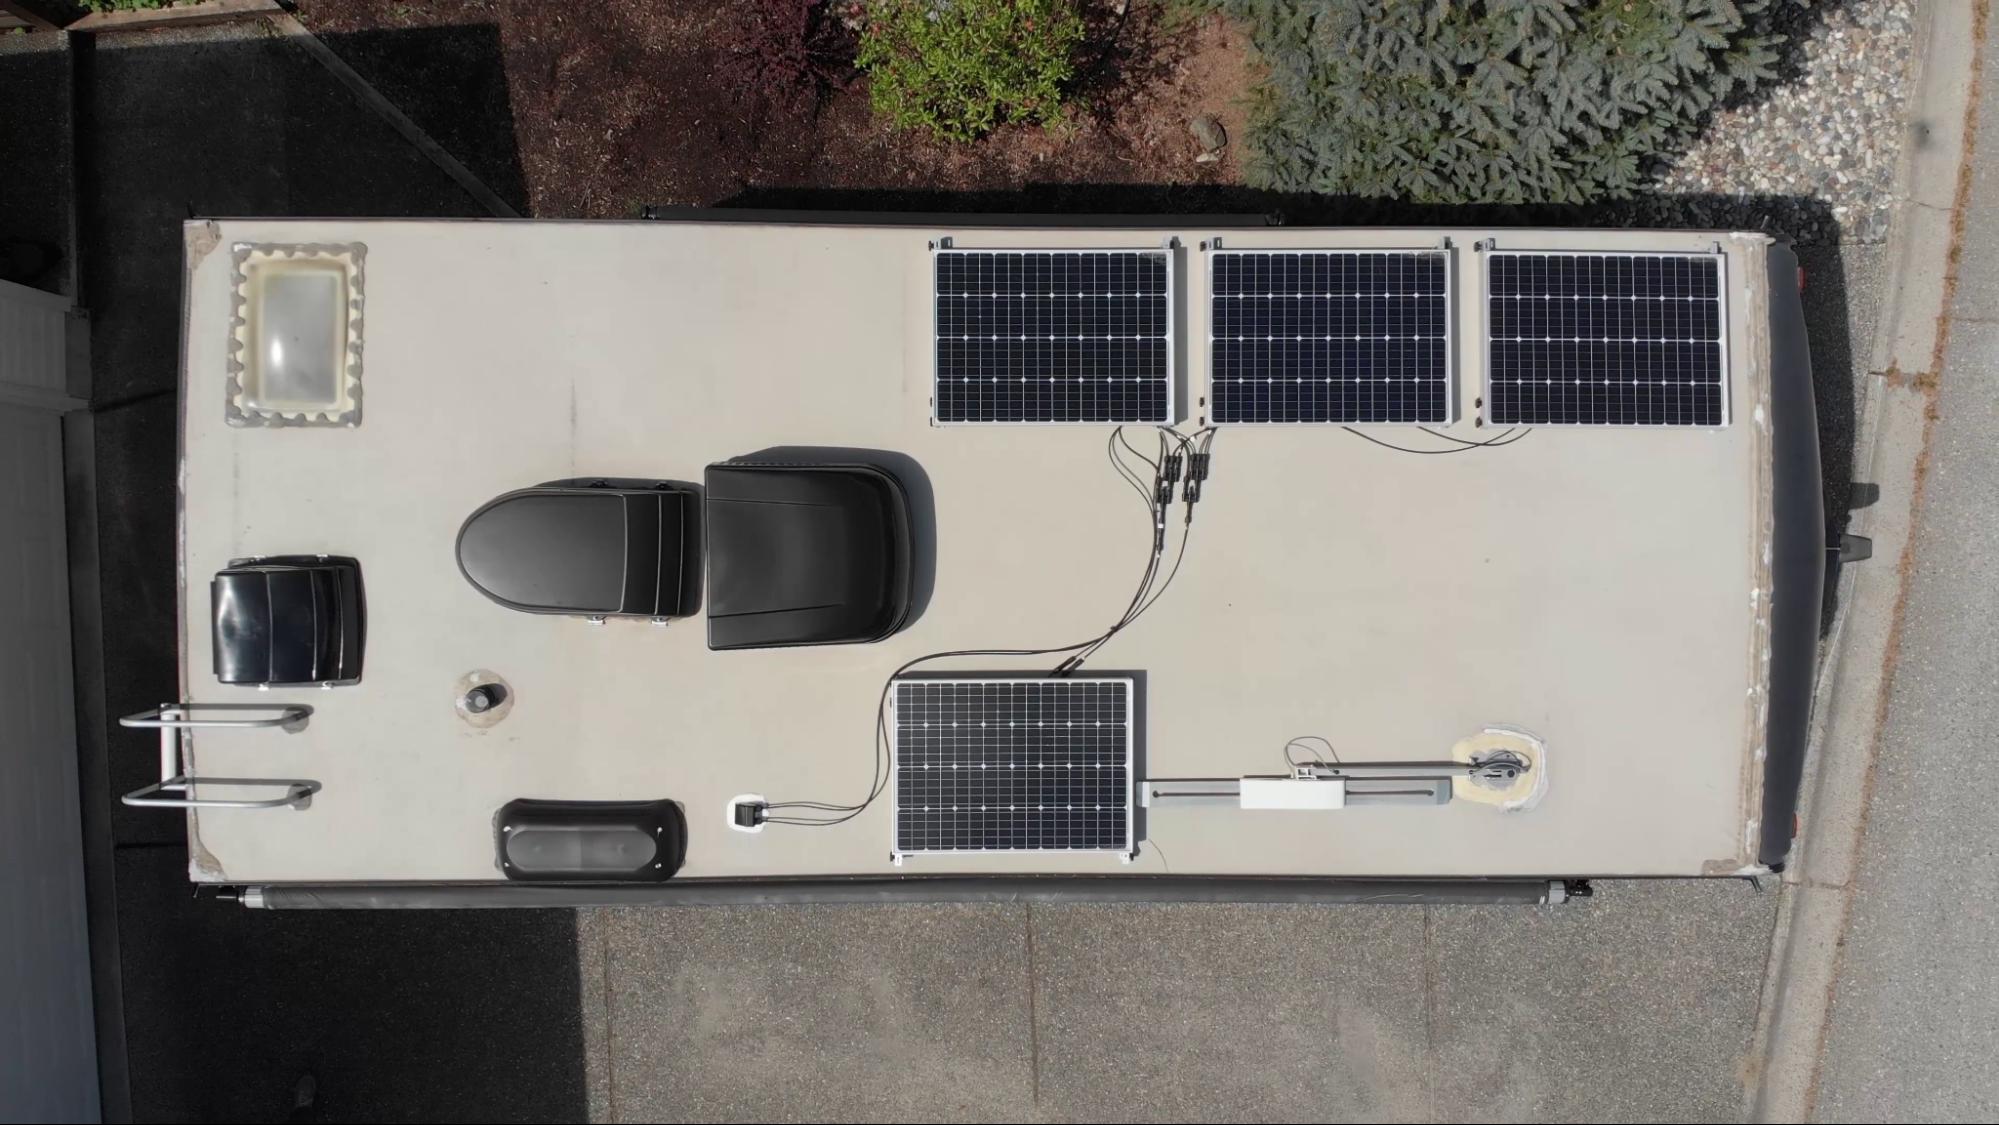
Adding solar panels to your RV can save you money on electricity, especially if you frequently boondock. Solar panels can be easily installed on the roof of your RV, and the energy harnessed is capable of powering your appliances, lights, and other electronic devices.
2. Additional Storage
Maximize your RV's storage by installing shelves, hooks, and racks in the kitchen, bathroom, and bedroom. You may also consider adding a cargo carrier or hitch-mounted storage bin to the exterior of your RV to accommodate extra gear.
3. LED Lighting
Replace your RV’s incandescent or halogen bulbs with LED lights, which consume less energy and last longer, reducing the need for frequent replacements. LED lights also provide better illumination, improving visibility and safety.
4. Water Saving Fixtures

Reduce your water consumption by upgrading your faucets and showerheads to low-flow models. This will help conserve your freshwater supply and minimize the amount of wastewater you produce.
5. Tire Pressure Monitoring System
Installing a tire pressure monitoring system (TPMS) can help ensure your RV tires are properly inflated, resulting in better fuel efficiency, improved handling, and reduced tire wear. A TPMS can also provide early warning of tire issues, helping you avoid dangerous blowouts while on the road.
DIY RV Repairs
1. Plumbing Repairs
One common issue that RV owners face is leaking faucets or pipes. To fix a leaking faucet, first, turn off the water supply and disassemble the faucet to inspect the components. Replace any damaged parts, such as washers or seals, and reassemble the faucet. For leaking pipes, you'll need to locate the source of the leak, which may require removing panels or gaining access to hidden pipes. Depending on the severity of the leak, you may need to replace a section of pipe, apply a patch, or use a pipe clamp to stop the leak.
2. Roof Maintenance
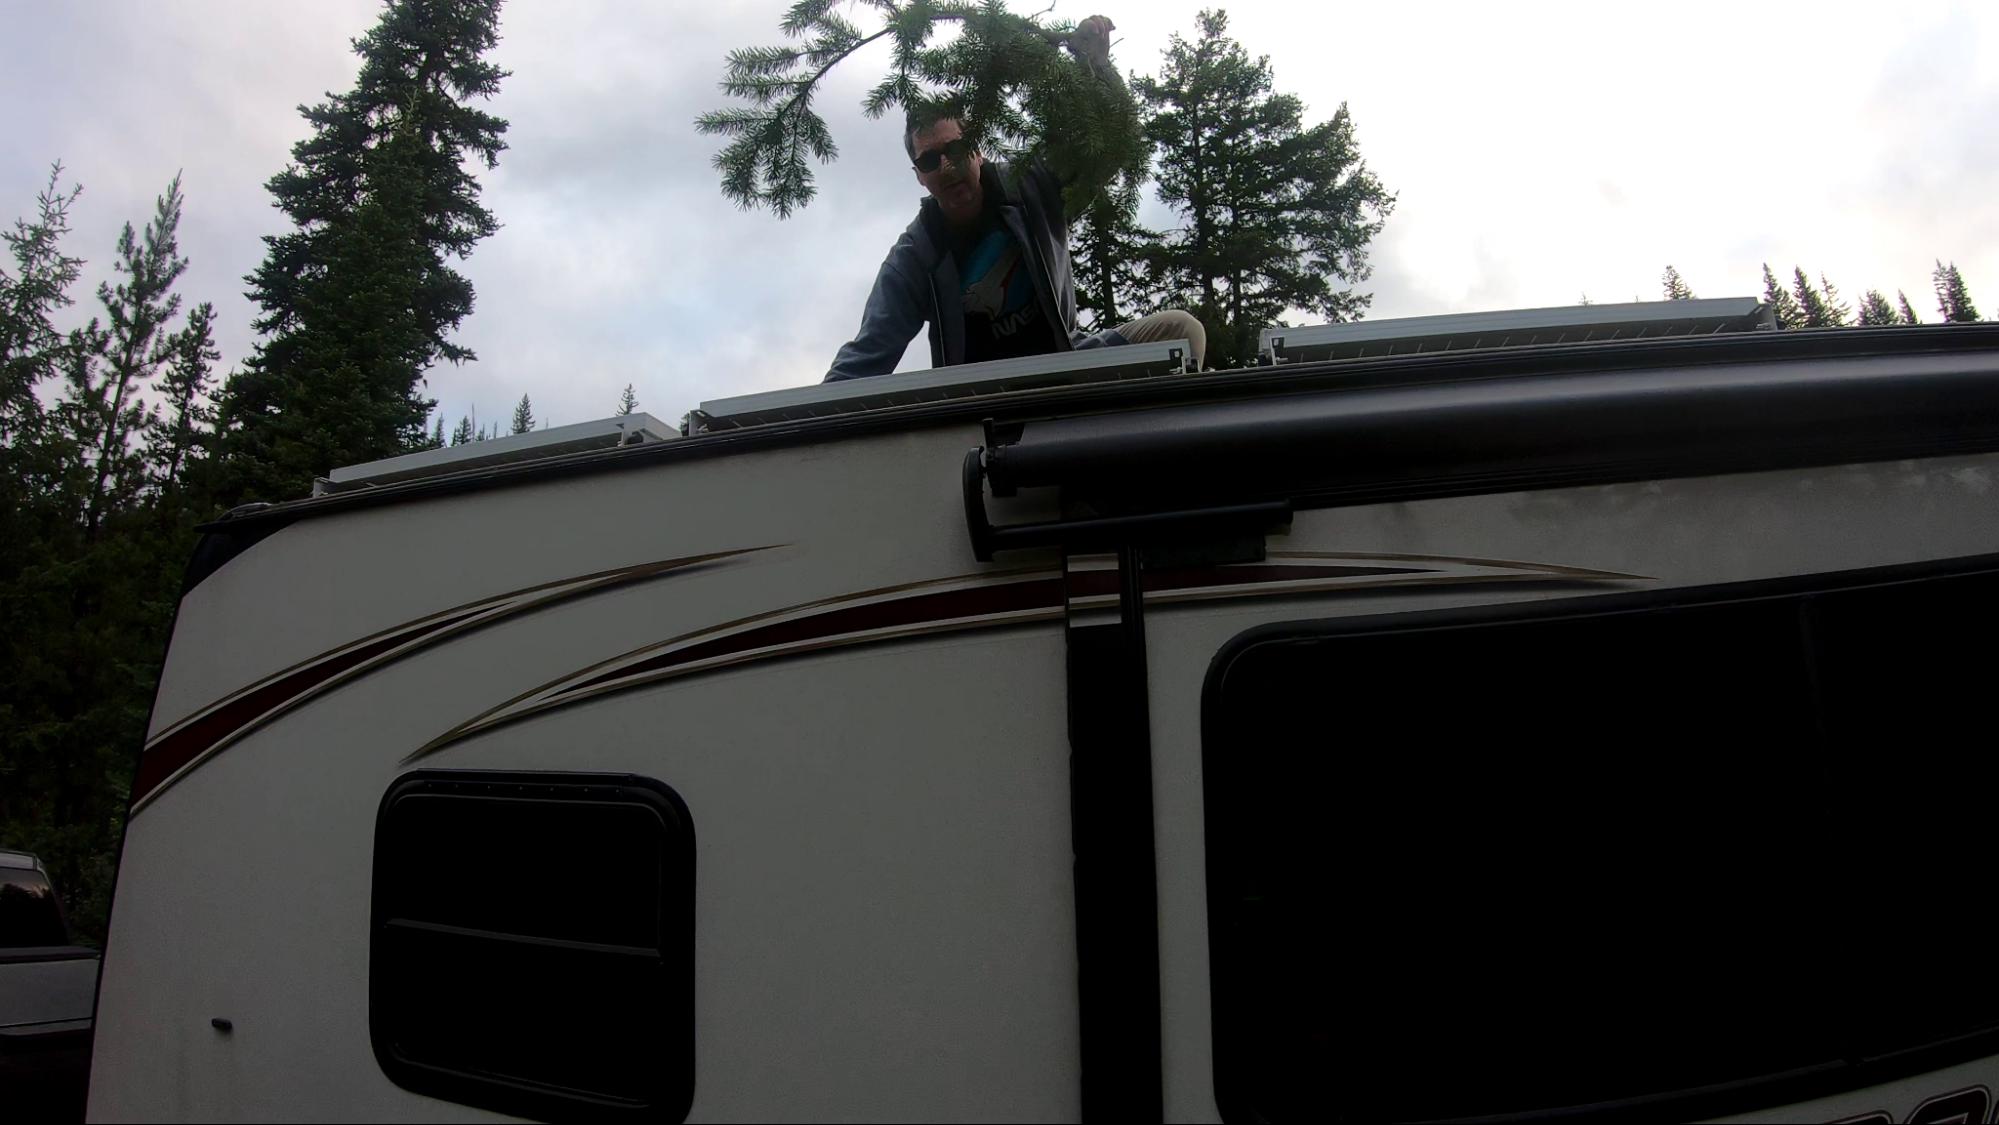
Inspect your RV's roof regularly for any signs of damage, such as cracked or missing sealant, holes, or tears in the roofing material. Repair any damage promptly to prevent water intrusion, which can lead to costly damage to your RV's interior. Use an RV-specific roof sealant to seal seams and repair small holes, or seek professional assistance for larger repairs.
3. Appliance Troubleshooting
Some common RV appliance issues can be fixed easily, such as your refrigerator not cooling or your water heater not heating properly. For refrigerator issues, inspect the vent for any obstructions, such as a buildup of dust or debris, and clean as needed. Also, ensure the refrigerator is level, as this can impact its cooling efficiency. For water heater issues, verify that the pilot light is lit and the gas valve is open. If these simple fixes do not solve your appliance troubles, consult your owner's manual or seek professional assistance.
4. Window and Door Seal Maintenance
Check the seals around your RV windows and doors regularly for signs of wear or damage, such as cracks, gaps, or peeling. Replace damaged weatherstripping or use an RV-specific sealant to fill any gaps to prevent water leakage, drafts, and pests from entering your RV.
5. Battery Maintenance
Your RV batteries are vital to your overall camping experience, so it's important to maintain them properly. Different types of RV batteries require different levels of maintenance. For example, lead-acid batteries require periodic fluid top-ups to run safely, but lithium ion batteries require little to no maintenance at all.
6. Slide-out Lubrication
To keep your RV's slide-outs functioning smoothly and prevent damage, it's essential to lubricate the tracks and seals regularly. Use a dry silicone spray to lubricate the slide-out tracks, and a rubber seal conditioner to keep the seals pliable and prevent them from cracking.
Conclusion
Traveling with an RV offers a unique and enjoyable experience when exploring the world around you. Ensuring your RV is well-maintained can save on costs and extend the life of your investment. Performing simple upgrades and DIY repairs will not only improve your RV's performance but also provide you with a sense of accomplishment and pride as you care for your home on wheels.